-
-
Notifications
You must be signed in to change notification settings - Fork 227
Customization
HFS 3 customization is very different and not compatible with things made for HFS 2. You can do less things, but it's because old system was very easy to break at each update. Too much power = too much responsibilities.
Customization capabilities are work-in-progress. Feel free to suggest things.
Current capabilities are mostly based on style rules.
You can freely add style by going to Admin-panel > Custom HTML, select an adequate section like top of html body, and adding a <style> tag, with anything in it.
Example:
<style>
#root { background: red }
</style>
We have currently no documentation on classes and IDs, so please inspect the DOM with your browser to figure out the rules you need (right click > inspect).
Please note we are using some css variables like --bg --text --button-bg that can make your work much easier. Have a look at blue background example.
There's a way to generate the style code by using some a tool that most browsers have, often called developer-tools.
The following example is based on Chrome, and it shows how I can make the backdrop of the login-dialog red.
This is not the only possible way to operate, but one of the easier ones.
screen.mp4
To include images you have few options
- with a hidden folder:
- put your image files in a folder, like "images"
- share it in the VFS
- remove visibility (Who can see: none)
- now you can refer to these files in your html/style, because they are accessible like
/images/logo.png
- embed small files in style
- use emoji

Add this text to section "top of html body" or "html head"
<style>
.list-wrapper { max-width: 100em; }
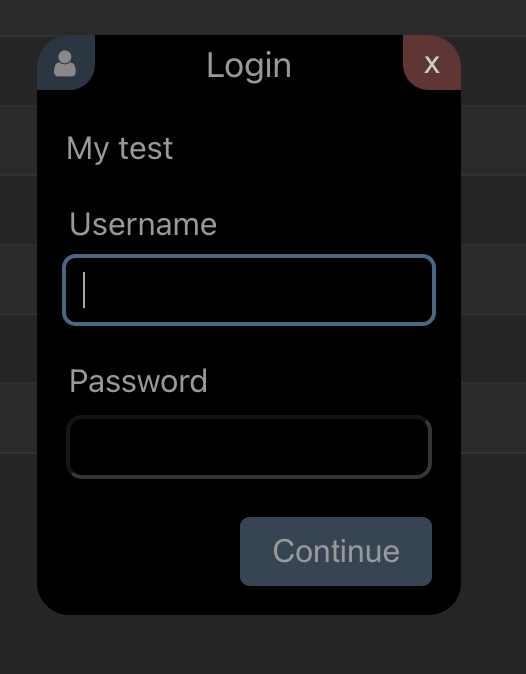
</style>You can add any text ("My test" in the example) and get something like this (screenshot taken with dark theme)

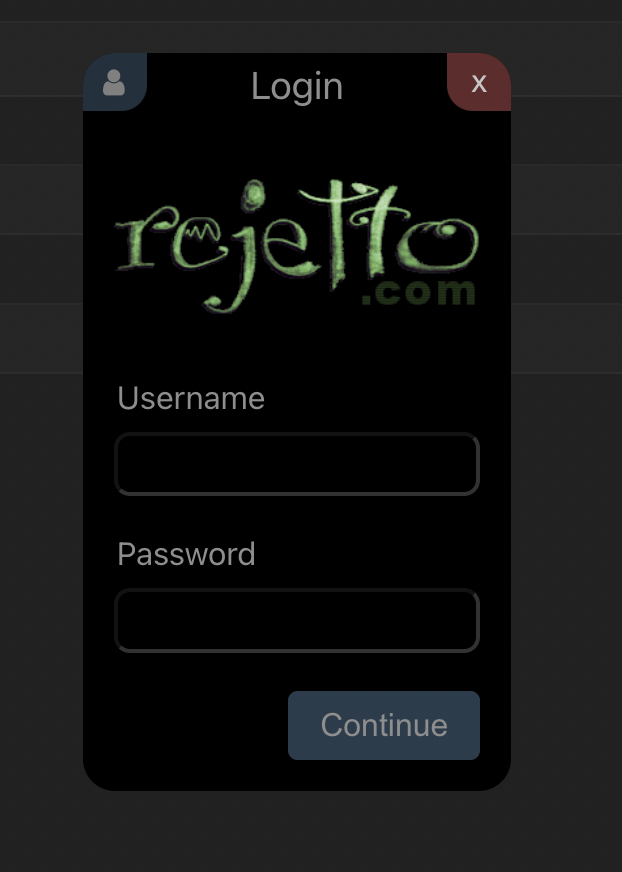
Just add the text in custom-html, section "before login". But since it's HTML, you can get almost anything, like an image, with some basic code
<img src='http://rejetto.com/pics/rejetto.com.gif'>
In the example we are using a file hosted on another server.
You probably want to host your image in HFS itself, adding it in the Virtual File System, possibly hidden (removing the "can see" permission), so the address becomes something like url(/my-hidden-folder/my-logo.png)
in "top of html body" add this
<style>
:root { --bg: #258; --text: #fff; }
a { color: #fff; text-decoration: underline; }
</style>
We are using underline to distinguish links that are in this example same color as normal text. The result will look like this

Add this to section "Before header"
<script>
    HFS.onEvent('fileMenu', ({ entry }) => ({
      label: "Copy link",
      async onClick() {
        copy(location.origin + entry.uri)
        HFS.dialogLib.alertDialog("Link copied")
      }
    }))

function copy(x) { const d = document; const ta = d.createElement("textarea"); ta.textContent = x; d.body.appendChild(ta); ta.select();  d.execCommand("copy"); d.body.removeChild(ta) }
</script>Add this to section "Html Head"
<script>
document.addEventListener('click', ({ target: t }) => {
  if (t.tagName === 'LI' && t.closest('ul.dir'))
      t.querySelector('a')?.click()
})
</script>Add this to section "Style"
#paging { display: none }Add this to section "Before header"
<script>
HFS.onEvent('fileMenu', ({ menu }) => {
  for (let x of menu)
    if (x?.id === 'list')
      x.href += '&depth=*'
})
</script>