Quokka.js plugin to enable browser-like environment via jsdom.
npm install jsdom-quokka-plugin
Note that you may install the plugin to the Quokka config folder instead of installing it to your local project.
Specify the plugin in Quokka configuration settings:
{
    "plugins": ["jsdom-quokka-plugin"]
}
If you need to, you may pass additional configuration options to the plugin:
{
    "plugins": ["jsdom-quokka-plugin"],
    "jsdom": {
        "file": "/html/file/path"
        "html": "...",
        "userAgent": "...",
        "config": {...}
    }
}
The jsdom.file setting allows to specify a path to any HTML file.
The jsdom.html setting allows to specify any HTML as a string.
The jsdom.config setting is the jsdom options setting.
If you want to use HTMLCanvasElement objects with Quokka and jsdom then you must also install the canvas package in the same
location as jsdom-quokka-plugin:
Specify inline Quokka configuration to use the jsdom-quokka-plugin setting html from config:
({
    plugins: ['jsdom-quokka-plugin'],
    jsdom: {html: `<div id="test">Hello</div>`}
})

const testDiv = document.getElementById('test');

console.log(testDiv.innerHTML);
displays
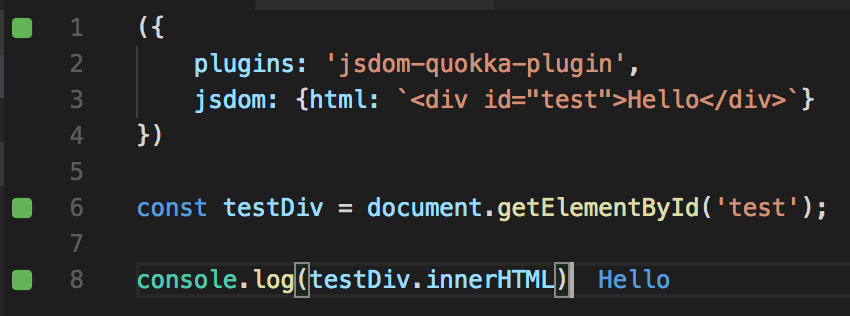
In this example, inline Quokka config is used. You may also place the config into the global Quokka config file or into your package.json.
Create a new project that loads config from project configuration and sets html from a file:
- Create a new folder for your scratch project.
- Using terminal in the new folder, run
npm init(accept all defaults). - Using terminal in the new folder, Install jsdom-quokka-plugin with
npm install jsdom-quokka-plugin –save-dev. - In the root of the new folder, create a file
test.htmlwith the contents:
<html>
  <head>
    <title>This is my sample page.</title>
  </head>
  <body>
    <p id="testDiv">Hello World</p>
  </body>
</html>- In the root of the new folder, create a file
test.jswith the contents:
const testDiv = document.getElementById('testDiv');

testDiv.textContent //?- In the root of the new folder, create a file
.quokkawith the contents:
{
  "plugins": ["jsdom-quokka-plugin"],
  "jsdom": {"file": "test.html"}
}- Start Quokka on
test.js. You should now see editor output and Quokka console output ofHello World.