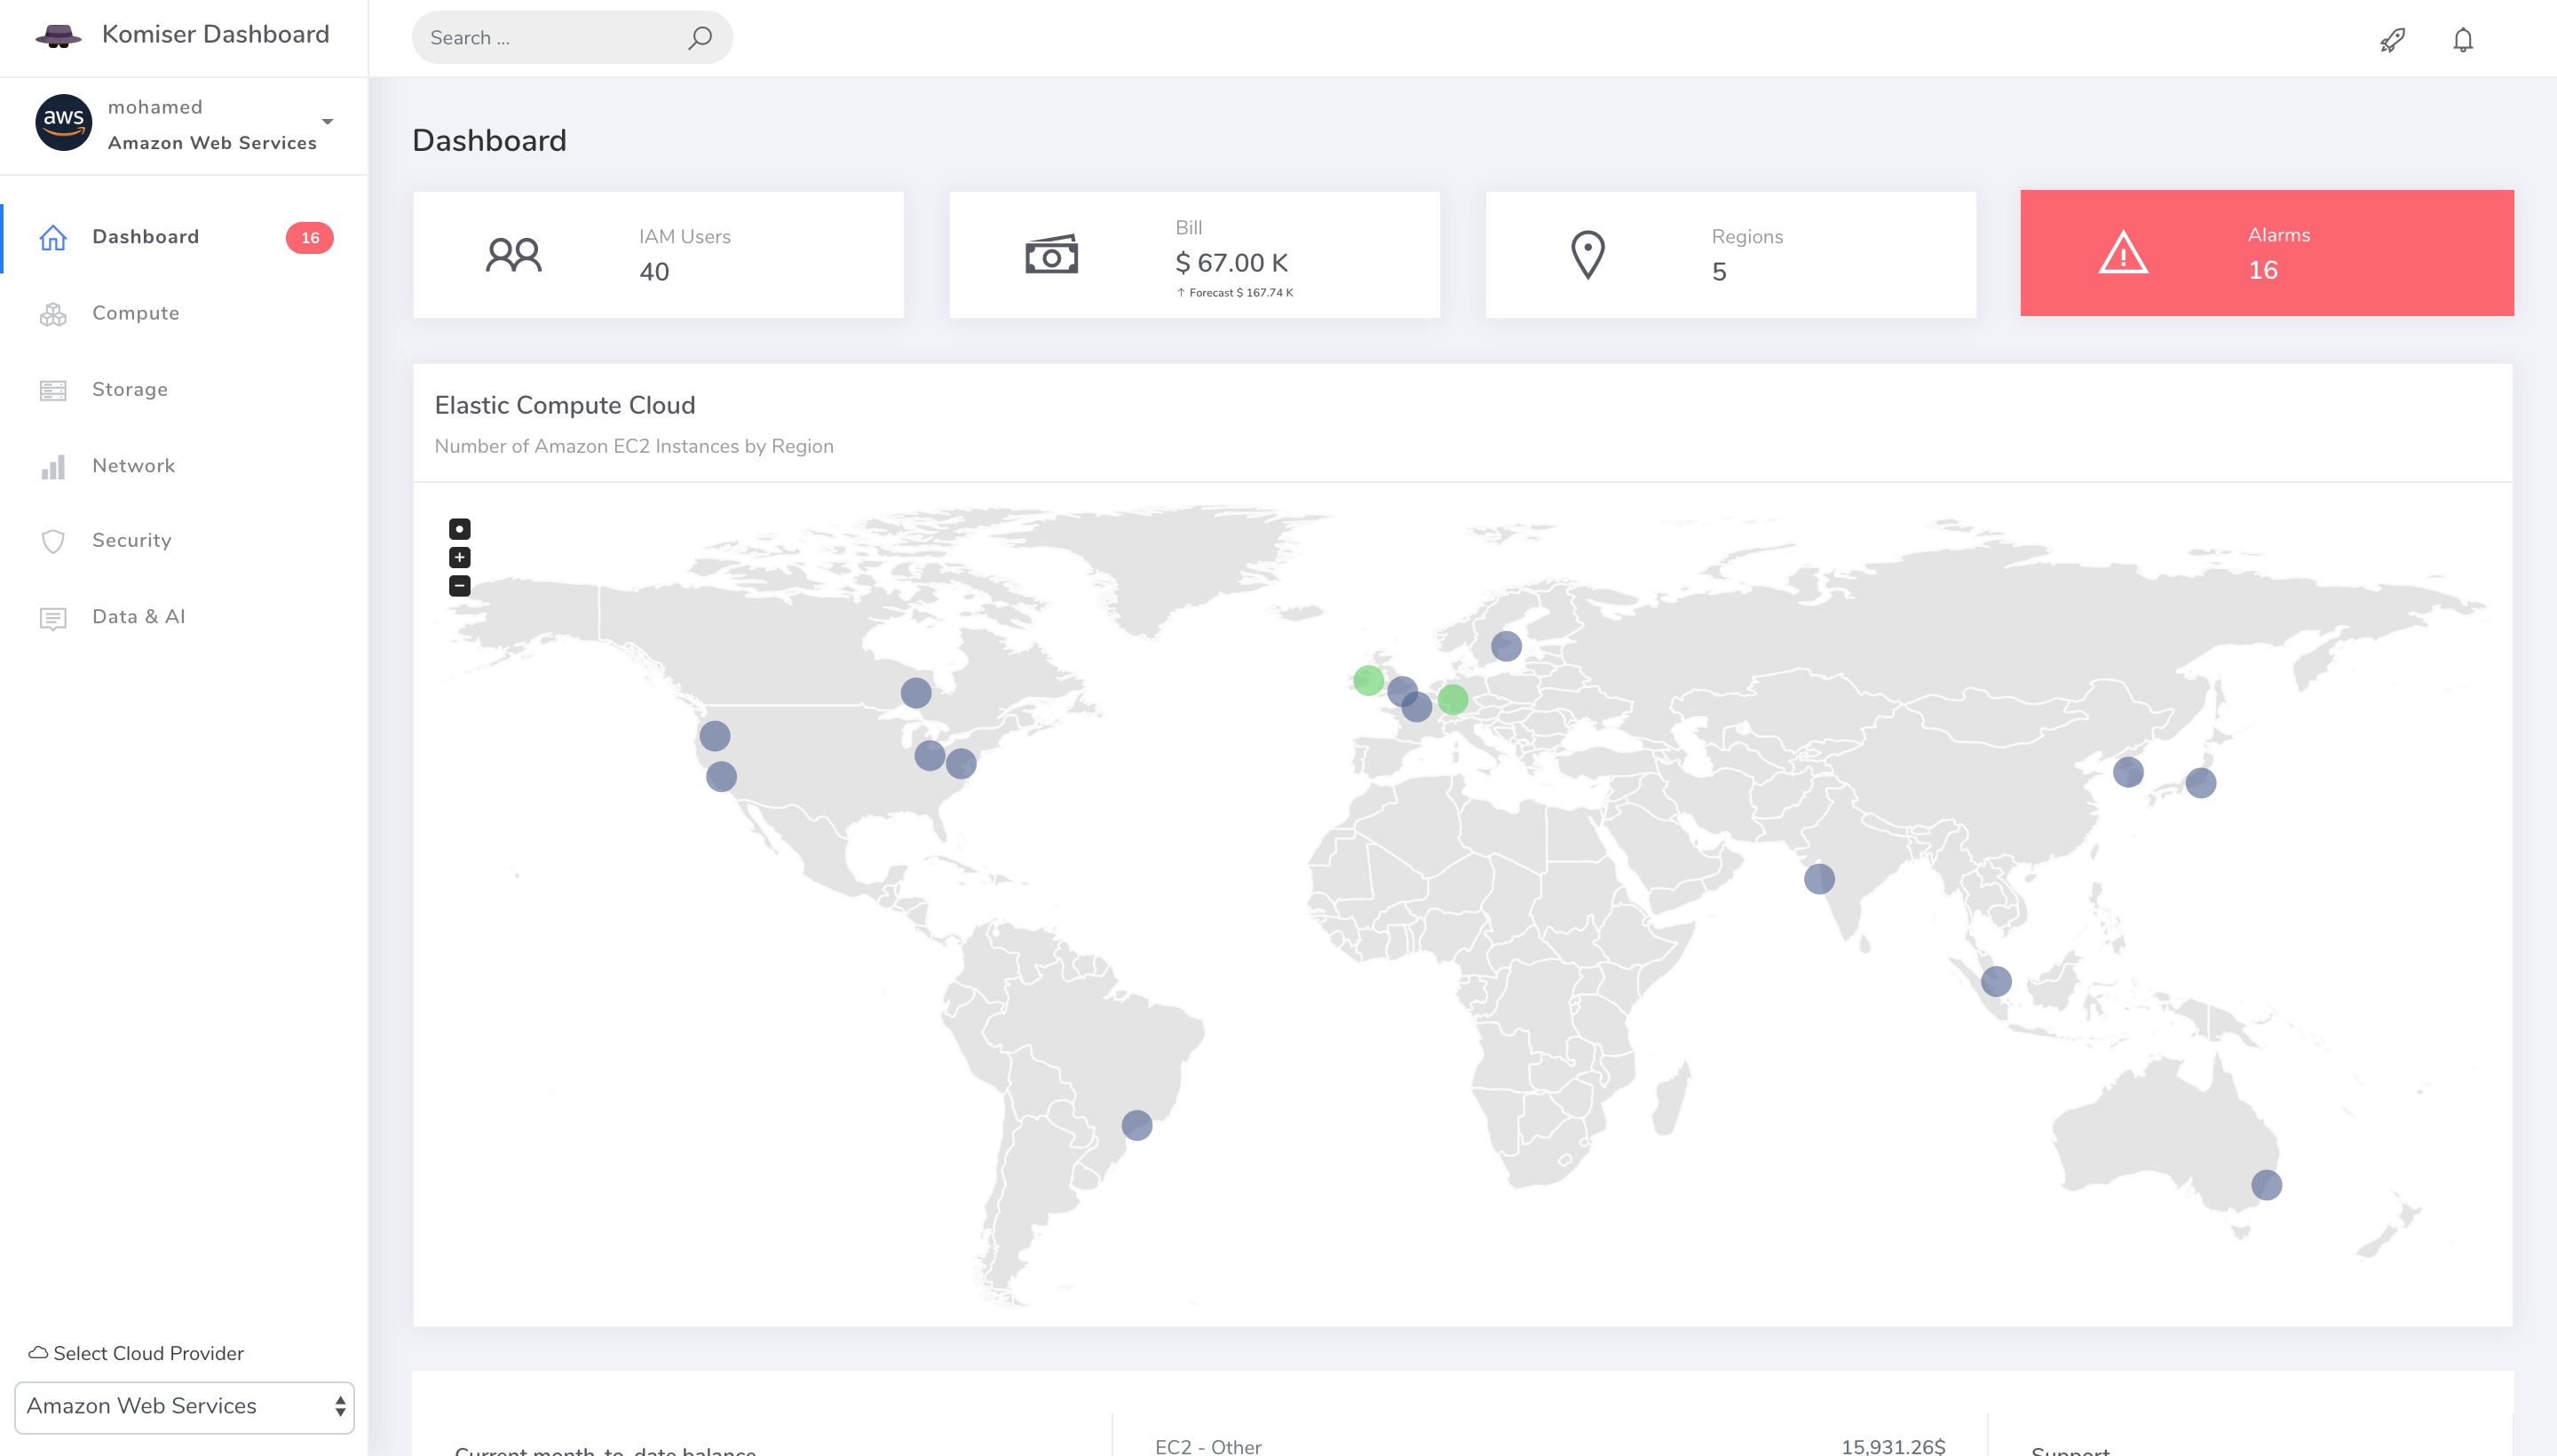
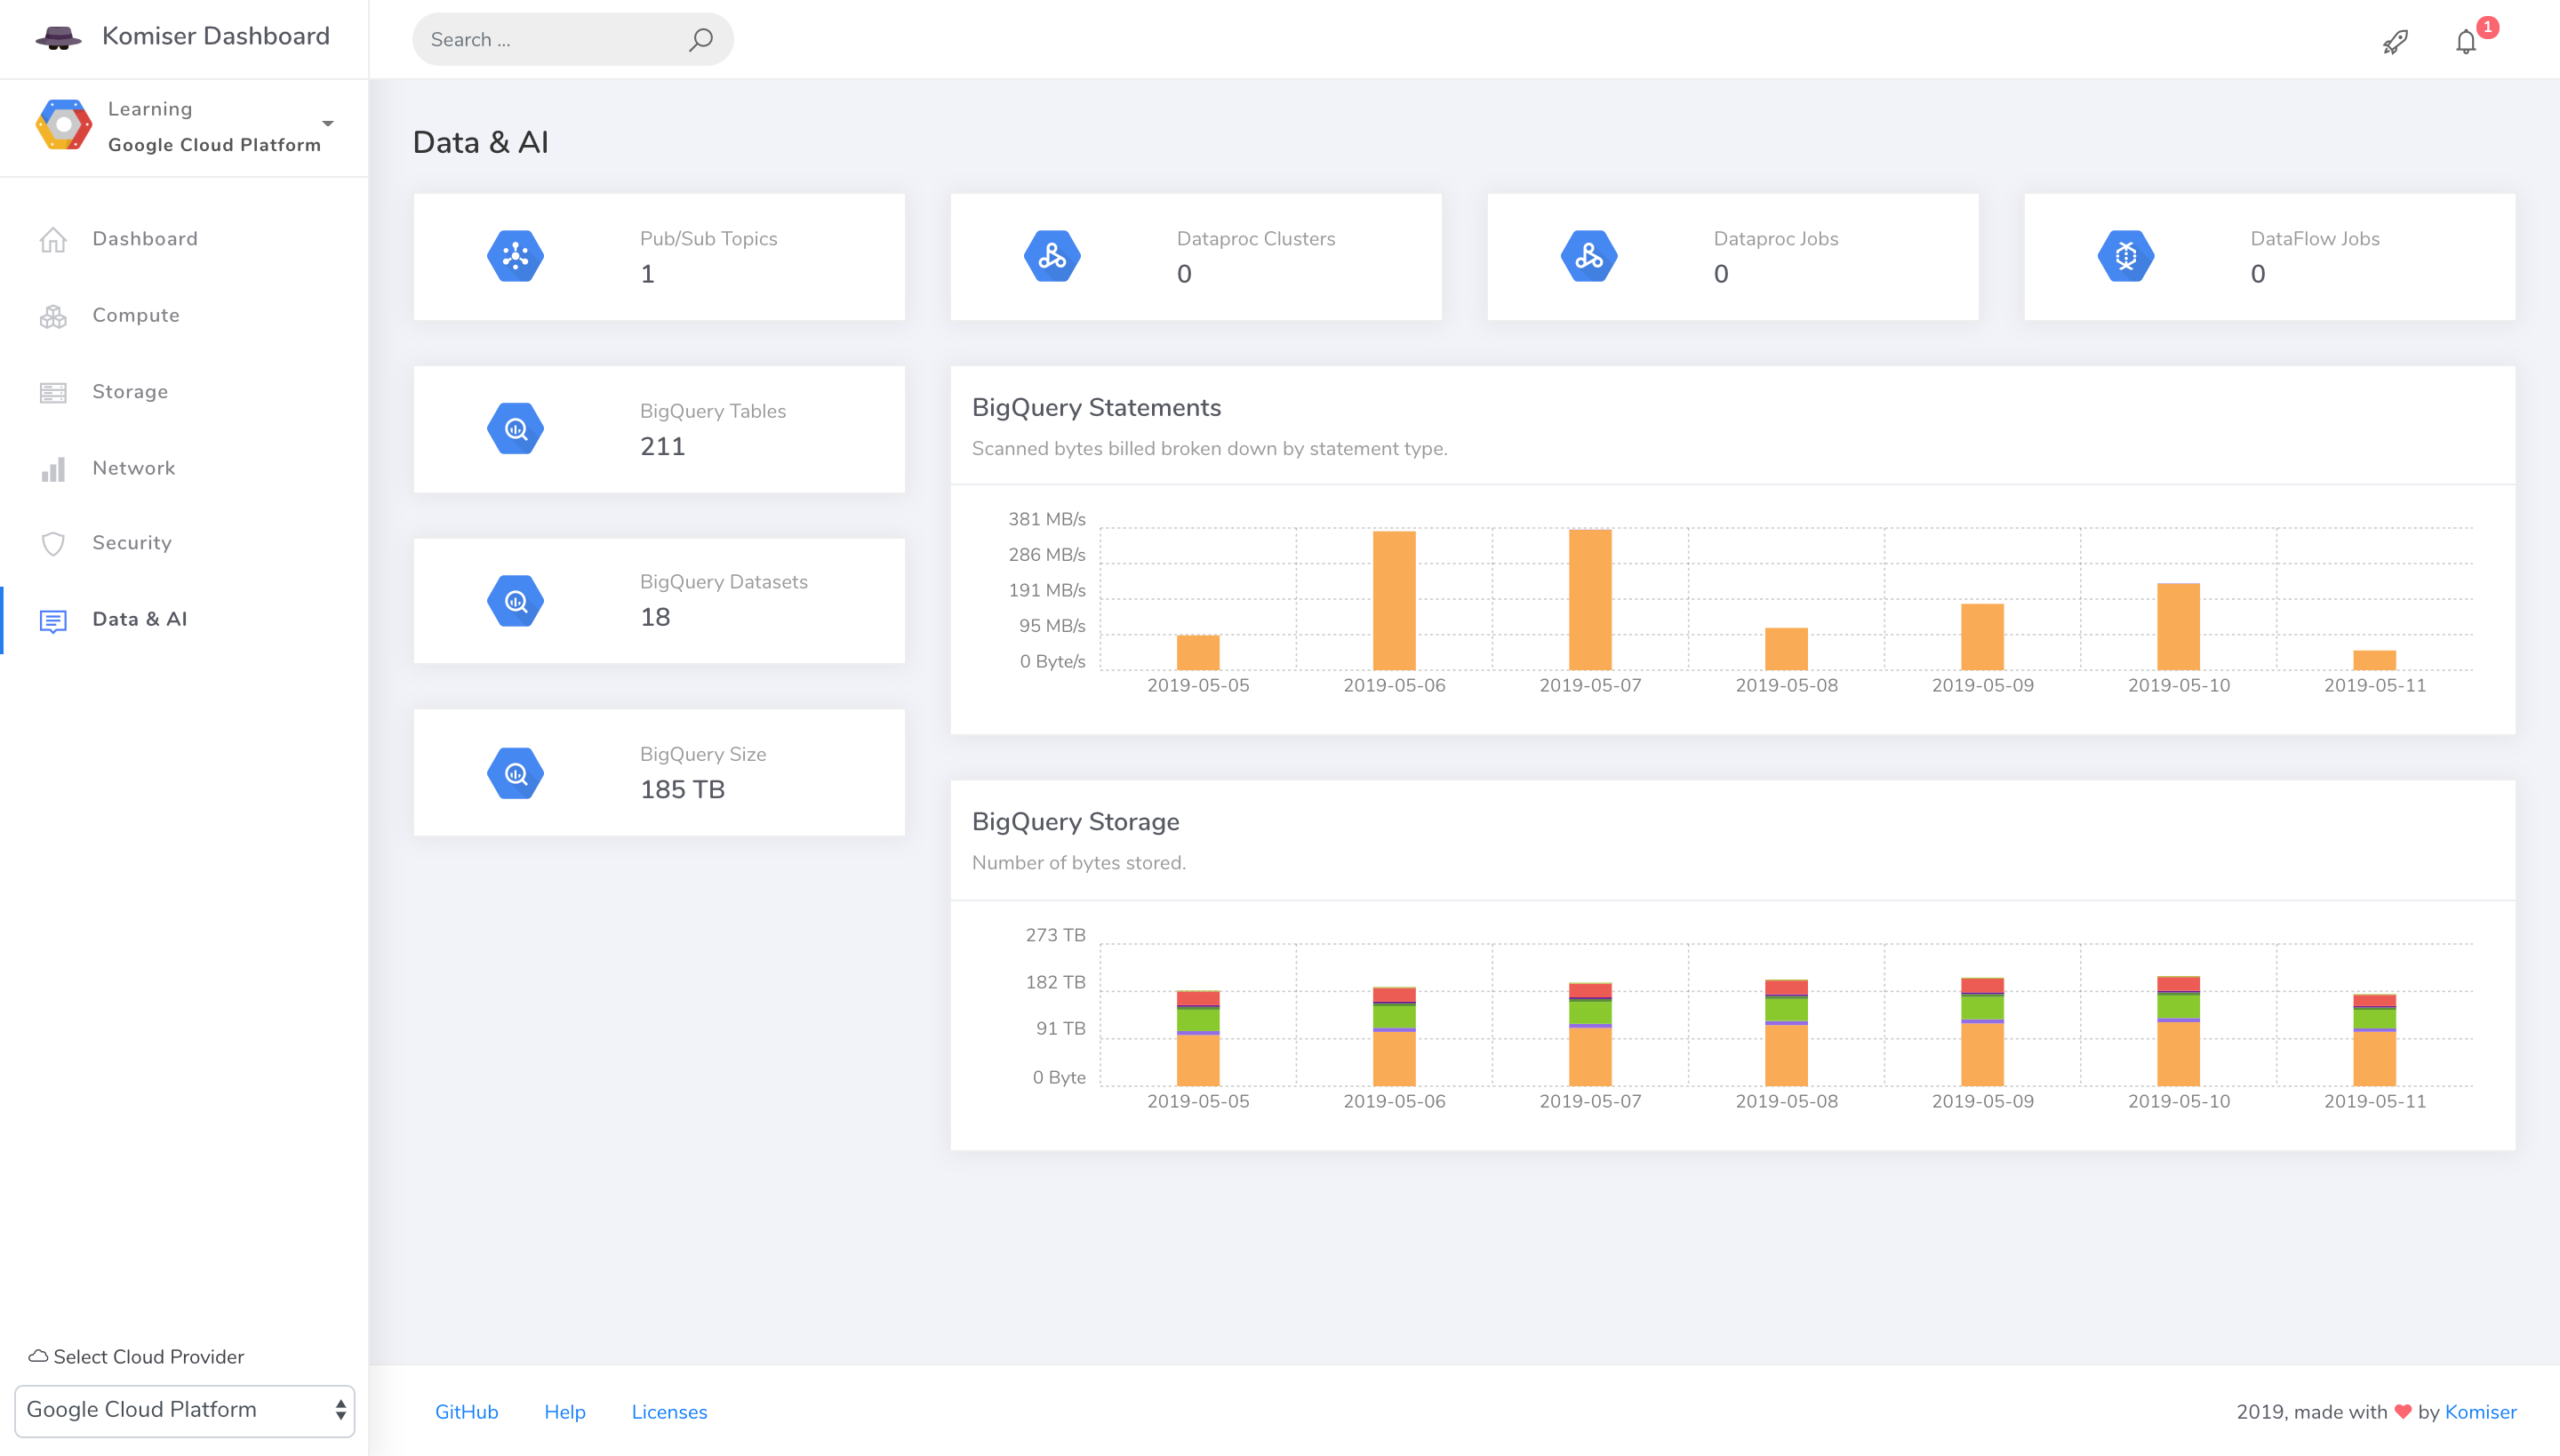
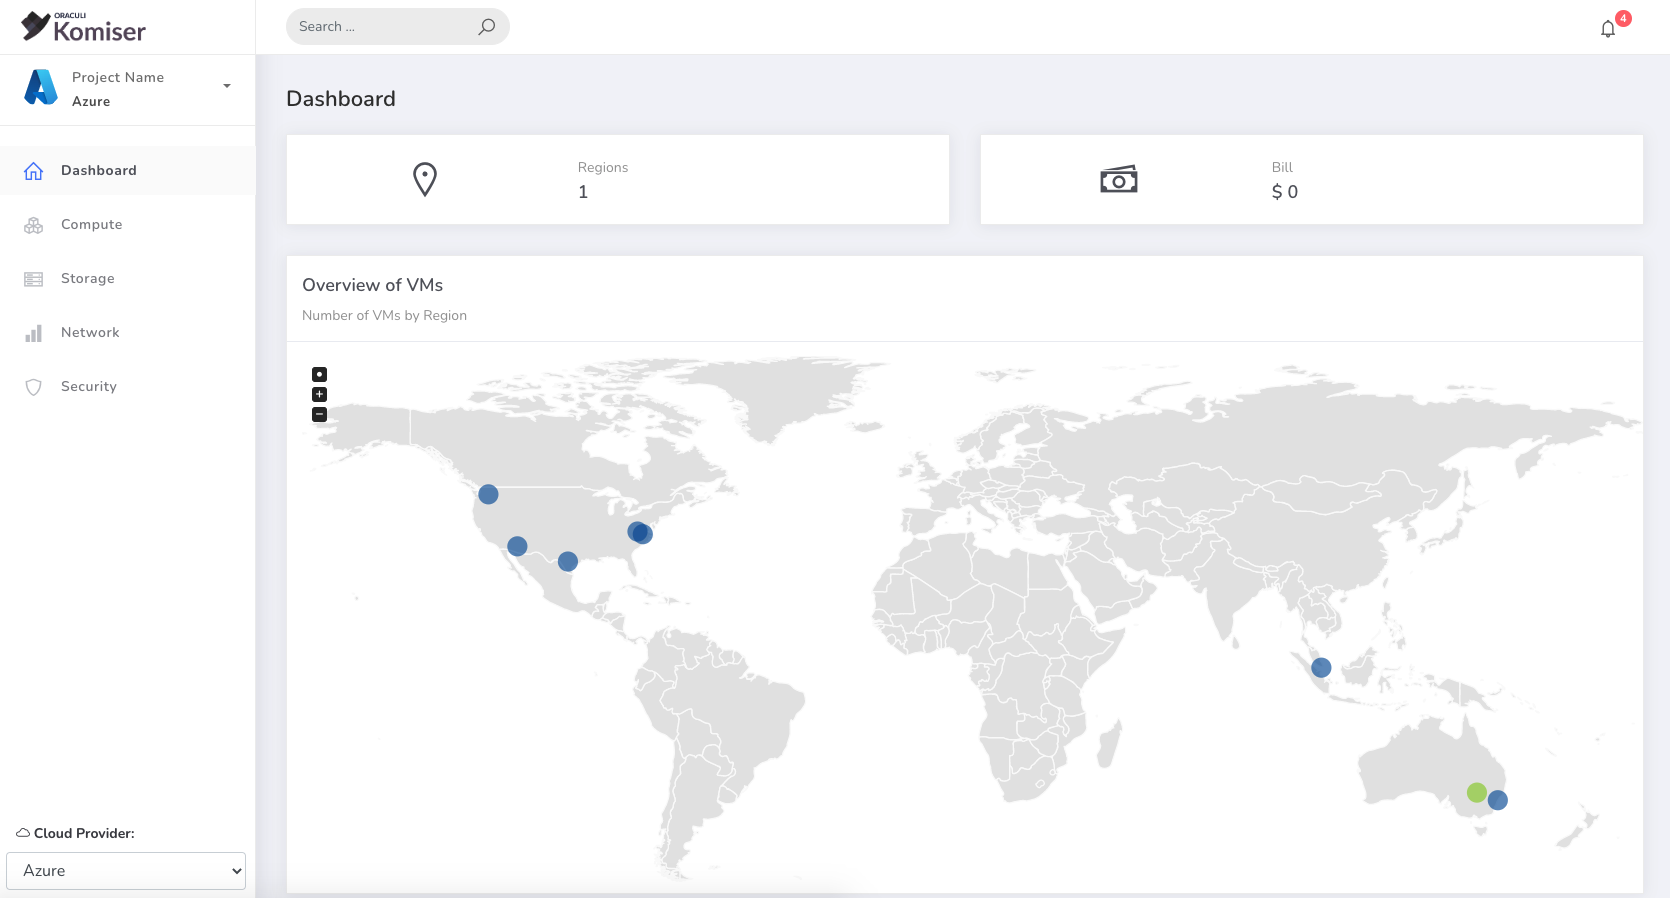
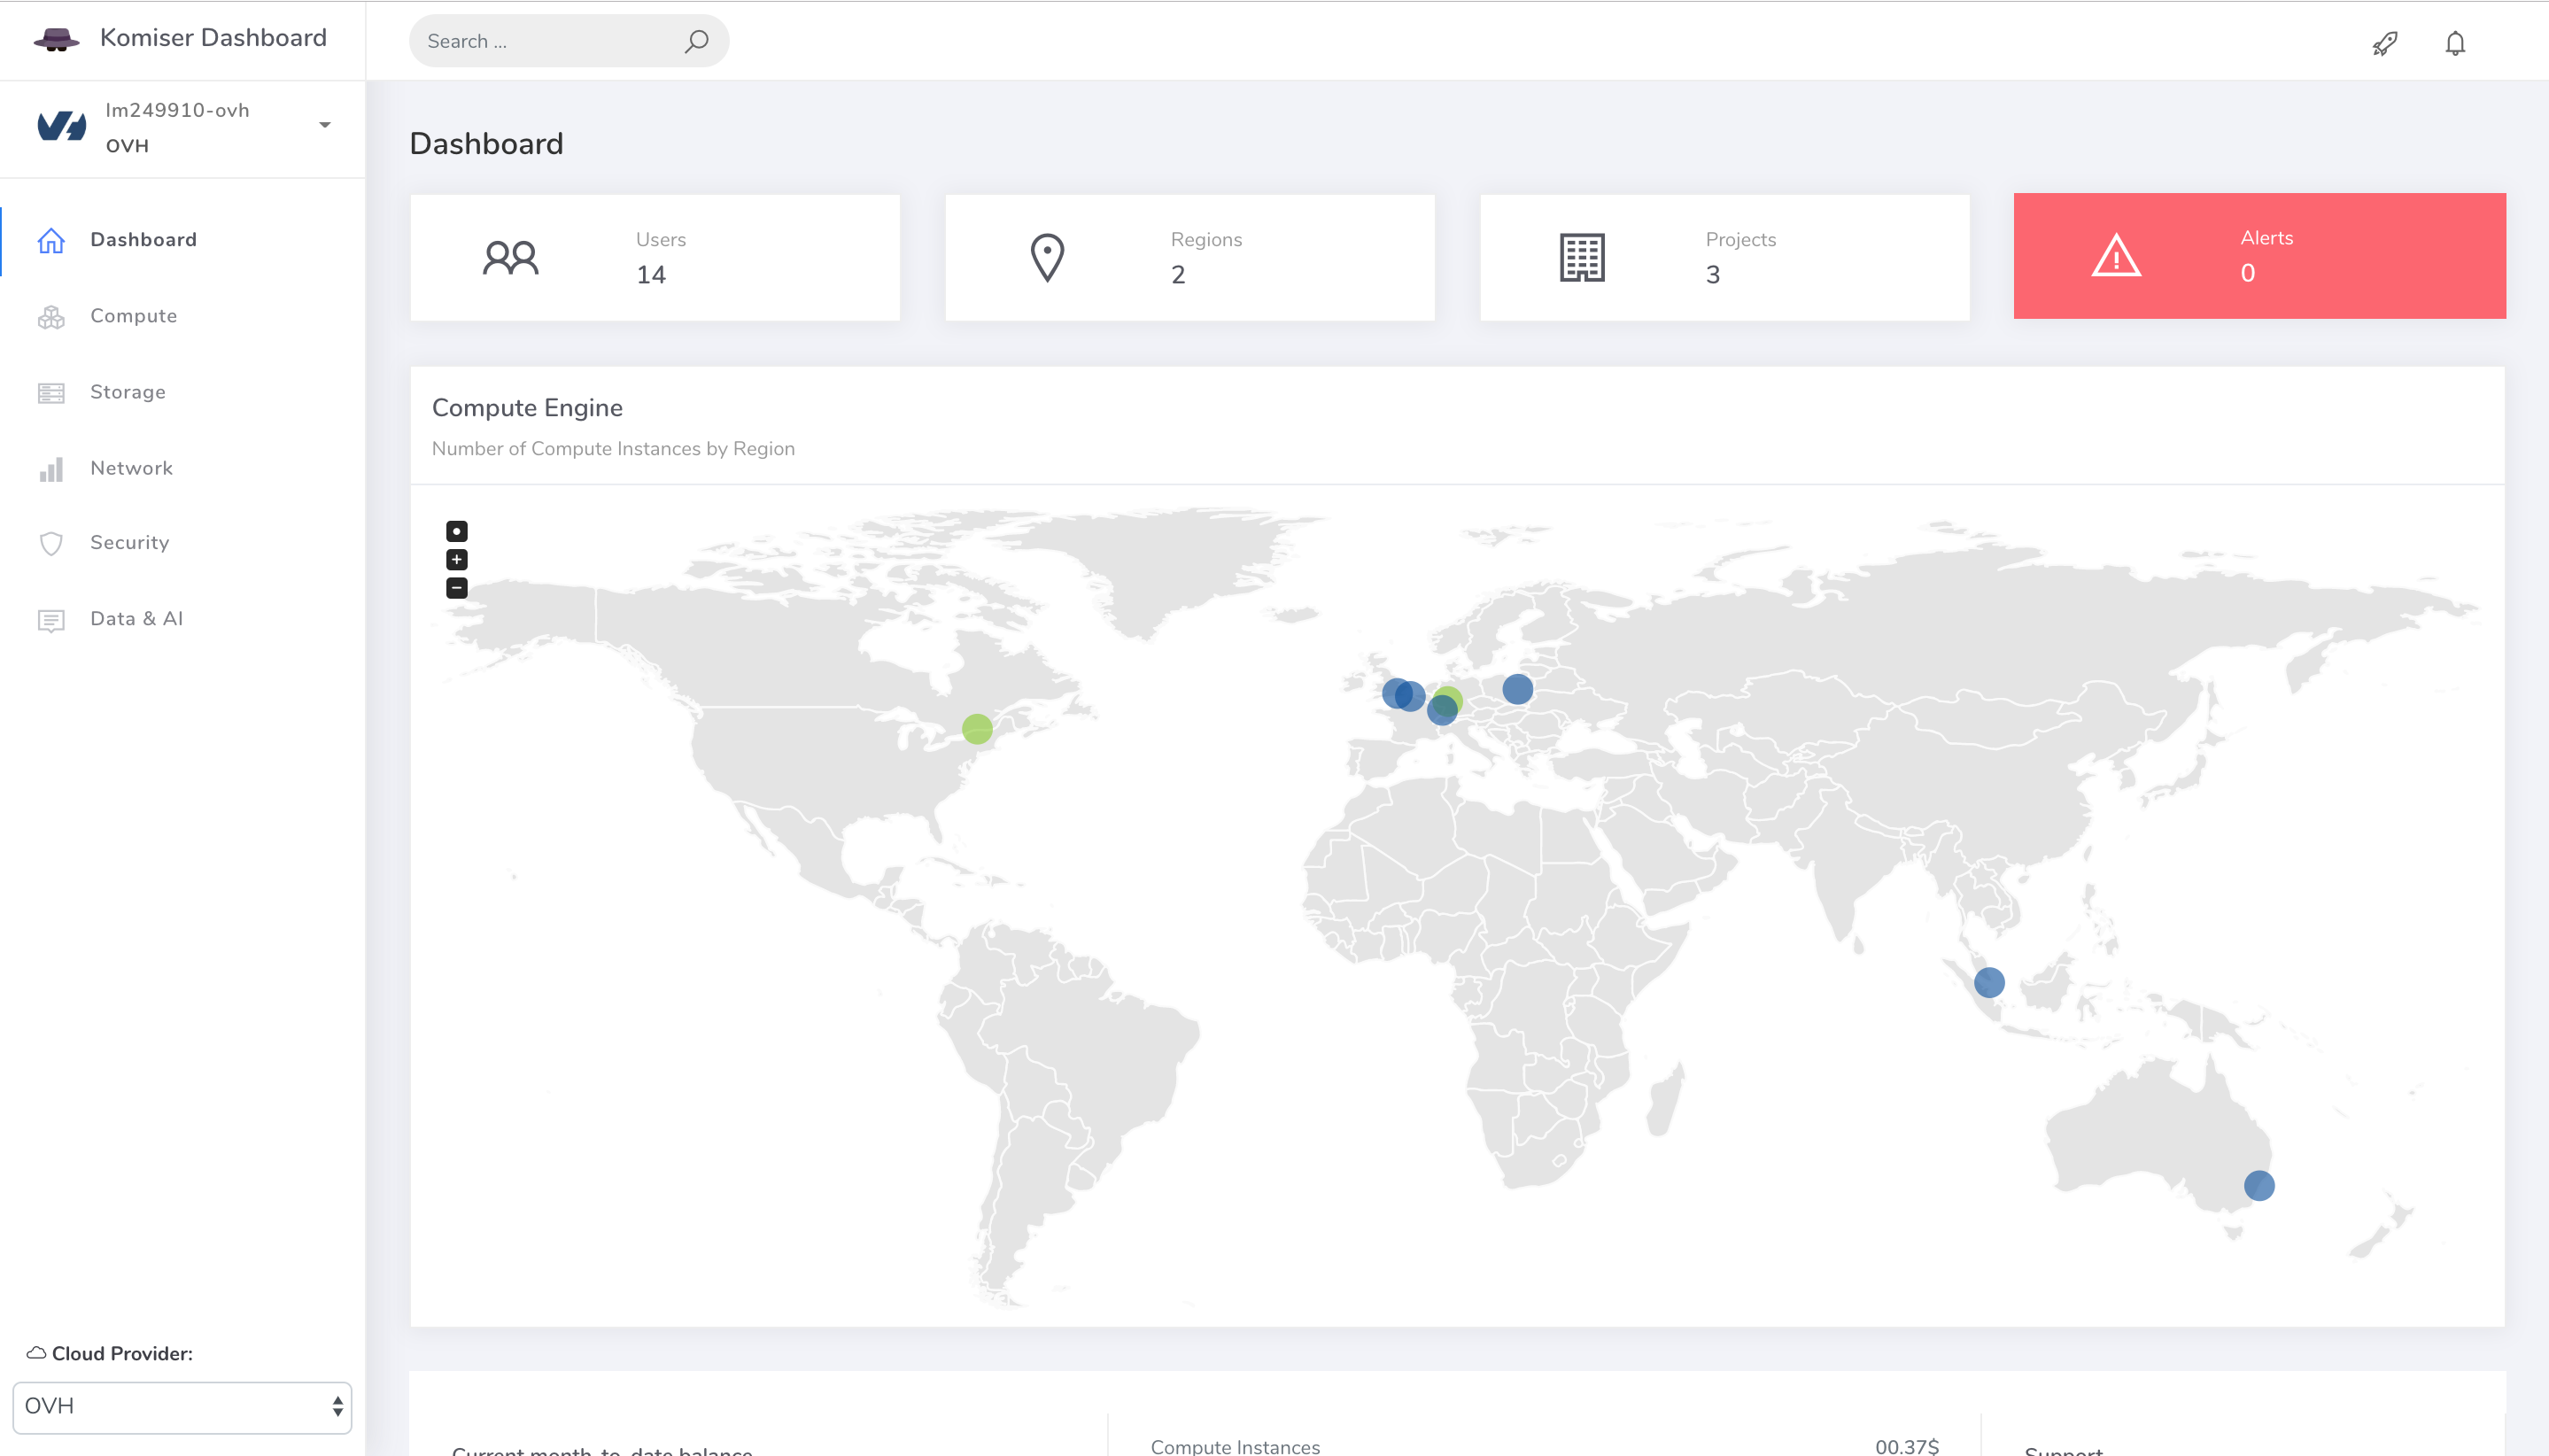
Komiser is back 🎉 and we're looking for maintainers to work on the new roadmap, if you're interested, join us on our Discord community

Stay under budget by uncovering hidden costs, monitoring increases in spend, and making impactful changes based on custom recommendations.
Discuss it on Product Hunt 🦄
Cloud version is available in private beta test stage, sign in for free at https://cloud.oraculi.io
Highlights
- Analyze and manage cloud cost, usage, security, and governance in one place.
- Control your usage and create visibility across all used services to achieve maximum cost-effectiveness.
- Detect potential vulnerabilities that could put your cloud environment at risk.
- Get a deep understanding of how you spend on the AWS, GCP, OVH, DigitalOcean and Azure.
Below are the available downloads for the latest version of Komiser (2.8.0). Please download the proper package for your operating system and architecture.
wget https://cli.komiser.io/2.8.0/linux/komiser
wget https://cli.komiser.io/2.8.0/windows/komiser -OutFile komiser.exe
wget https://cli.komiser.io/2.8.0/osx/komiser
Note: make sure to add the execution permission to Komiser chmod +x komiser
brew tap komiserio/komiser
brew install komiser
docker run -d -p 3000:3000 -e AWS_ACCESS_KEY_ID="" -e AWS_SECRET_ACCESS_KEY="" -e AWS_DEFAULT_REGION="" --name komiser mlabouardy/komiser:2.8.0
- Create an IAM user with the following IAM policy:
wget https://komiser.s3.amazonaws.com/policy.json
- Add your Access Key ID and Secret Access Key to ~/.aws/credentials using this format
[default]
aws_access_key_id = <access key id>
aws_secret_access_key = <secret access key>
region = <AWS region>
- That should be it. Try out the following from your command prompt to start the server:
komiser start --port 3000
You can also use Redis as a caching server:
komiser start --port 3000 --redis localhost:6379 --duration 30
- Point your browser to http://localhost:3000
Komiser support multiple AWS accounts through named profiles that are stored in the config and credentials files. You can configure additional profiles by using aws configure with the --profile option, or by adding entries to the config and credentials files.
The following example shows a credentials file with 3 profiles (production, staging & sandbox accounts):
[Production]
aws_access_key_id=<AWS_ACCESS_KEY_ID>
aws_secret_access_key=<AWS_SECRET_ACCESS_KEY>

[Staging]
aws_access_key_id=<AWS_ACCESS_KEY_ID>
aws_secret_access_key=<AWS_SECRET_ACCESS_KEY>

[Sandbox]
aws_access_key_id=<AWS_ACCESS_KEY_ID>
aws_secret_access_key=<AWS_SECRET_ACCESS_KEY>
To enable multiple AWS accounts feature, add the --multiple option to Komiser:
komiser start --port 3000 --redis localhost:6379 --duration 30 --multiple
- If you point your browser to http://localhost:3000, you should be able to see your accounts:
-
Create a service account with Viewer permission, see Creating and managing service accounts docs.
-
Enable the below APIs for your project through GCP Console,
gcloudor using the Service Usage API. You can find out more about these options in Enabling an API in your GCP project docs.- appengine.googleapis.com
- bigquery-json.googleapis.com
- compute.googleapis.com
- cloudfunctions.googleapis.com
- container.googleapis.com
- cloudresourcemanager.googleapis.com
- cloudkms.googleapis.com
- dns.googleapis.com
- dataflow.googleapis.com
- dataproc.googleapis.com
- iam.googleapis.com
- monitoring.googleapis.com
- pubsub.googleapis.com
- redis.googleapis.com
- serviceusage.googleapis.com
- storage-api.googleapis.com
- sqladmin.googleapis.com
-
To analyze and optimize the infrastructure cost, you need to export your daily cost to BigQuery, see Export Billing to BigQuery docs.
-
Provide authentication credentials to your application code by setting the environment variable GOOGLE_APPLICATION_CREDENTIALS:
export GOOGLE_APPLICATION_CREDENTIALS="[PATH]"
- That should be it. Try out the following from your command prompt to start the server:
komiser start --port 3000 --dataset project-id.dataset-name.table-name
- Point your browser to http://localhost:3000
- Set the following environment variables:
| Variable | Description |
|---|---|
| AZURE_TENANT_ID | The Azure Active Directory tenant(directory) ID. |
| AZURE_CLIENT_ID | The client(application) ID of an App Registration in the tenant. |
| AZURE_CLIENT_SECRET | A client secret that was generated for the App Registration. |
| AZURE_SUBSCRIPTION_ID | Azure subscription ID |
- That should be it. Try out the following from your command prompt to start the server:
komiser start --port 3000
- Point your browser to http://localhost:3000
-
Create an API application from here.
-
This CLI will first look for direct instanciation parameters then
OVH_ENDPOINT,OVH_APPLICATION_KEY,OVH_APPLICATION_SECRETandOVH_CONSUMER_KEYenvironment variables. If either of these parameter is not provided, it will look for a configuration file of the form:
[default]
; general configuration: default endpoint
endpoint=ovh-eu

[ovh-eu]
; configuration specific to 'ovh-eu' endpoint
application_key=my_app_key
application_secret=my_application_secret
consumer_key=my_consumer_key
-
The CLI will successively attempt to locate this configuration file in
- Current working directory:
./ovh.conf - Current user's home directory
~/.ovh.conf - System wide configuration
/etc/ovh.conf
- Current working directory:
-
If you point your browser to http://localhost:3000, you should be able to see your projects:
-
To generate a personal access token, log in to the DigitalOcean Control Panel.
-
Click the API link in the main navigation, In the Personal access tokens section, click the Generate New Token button.
-
Create a ready-only scope token. When you click Generate Token, your token will be generated.
-
Set DIGITALOCEAN_ACCESS_TOKEN environment variable:
export DIGITALOCEAN_ACCESS_TOKEN=<TOKEN>
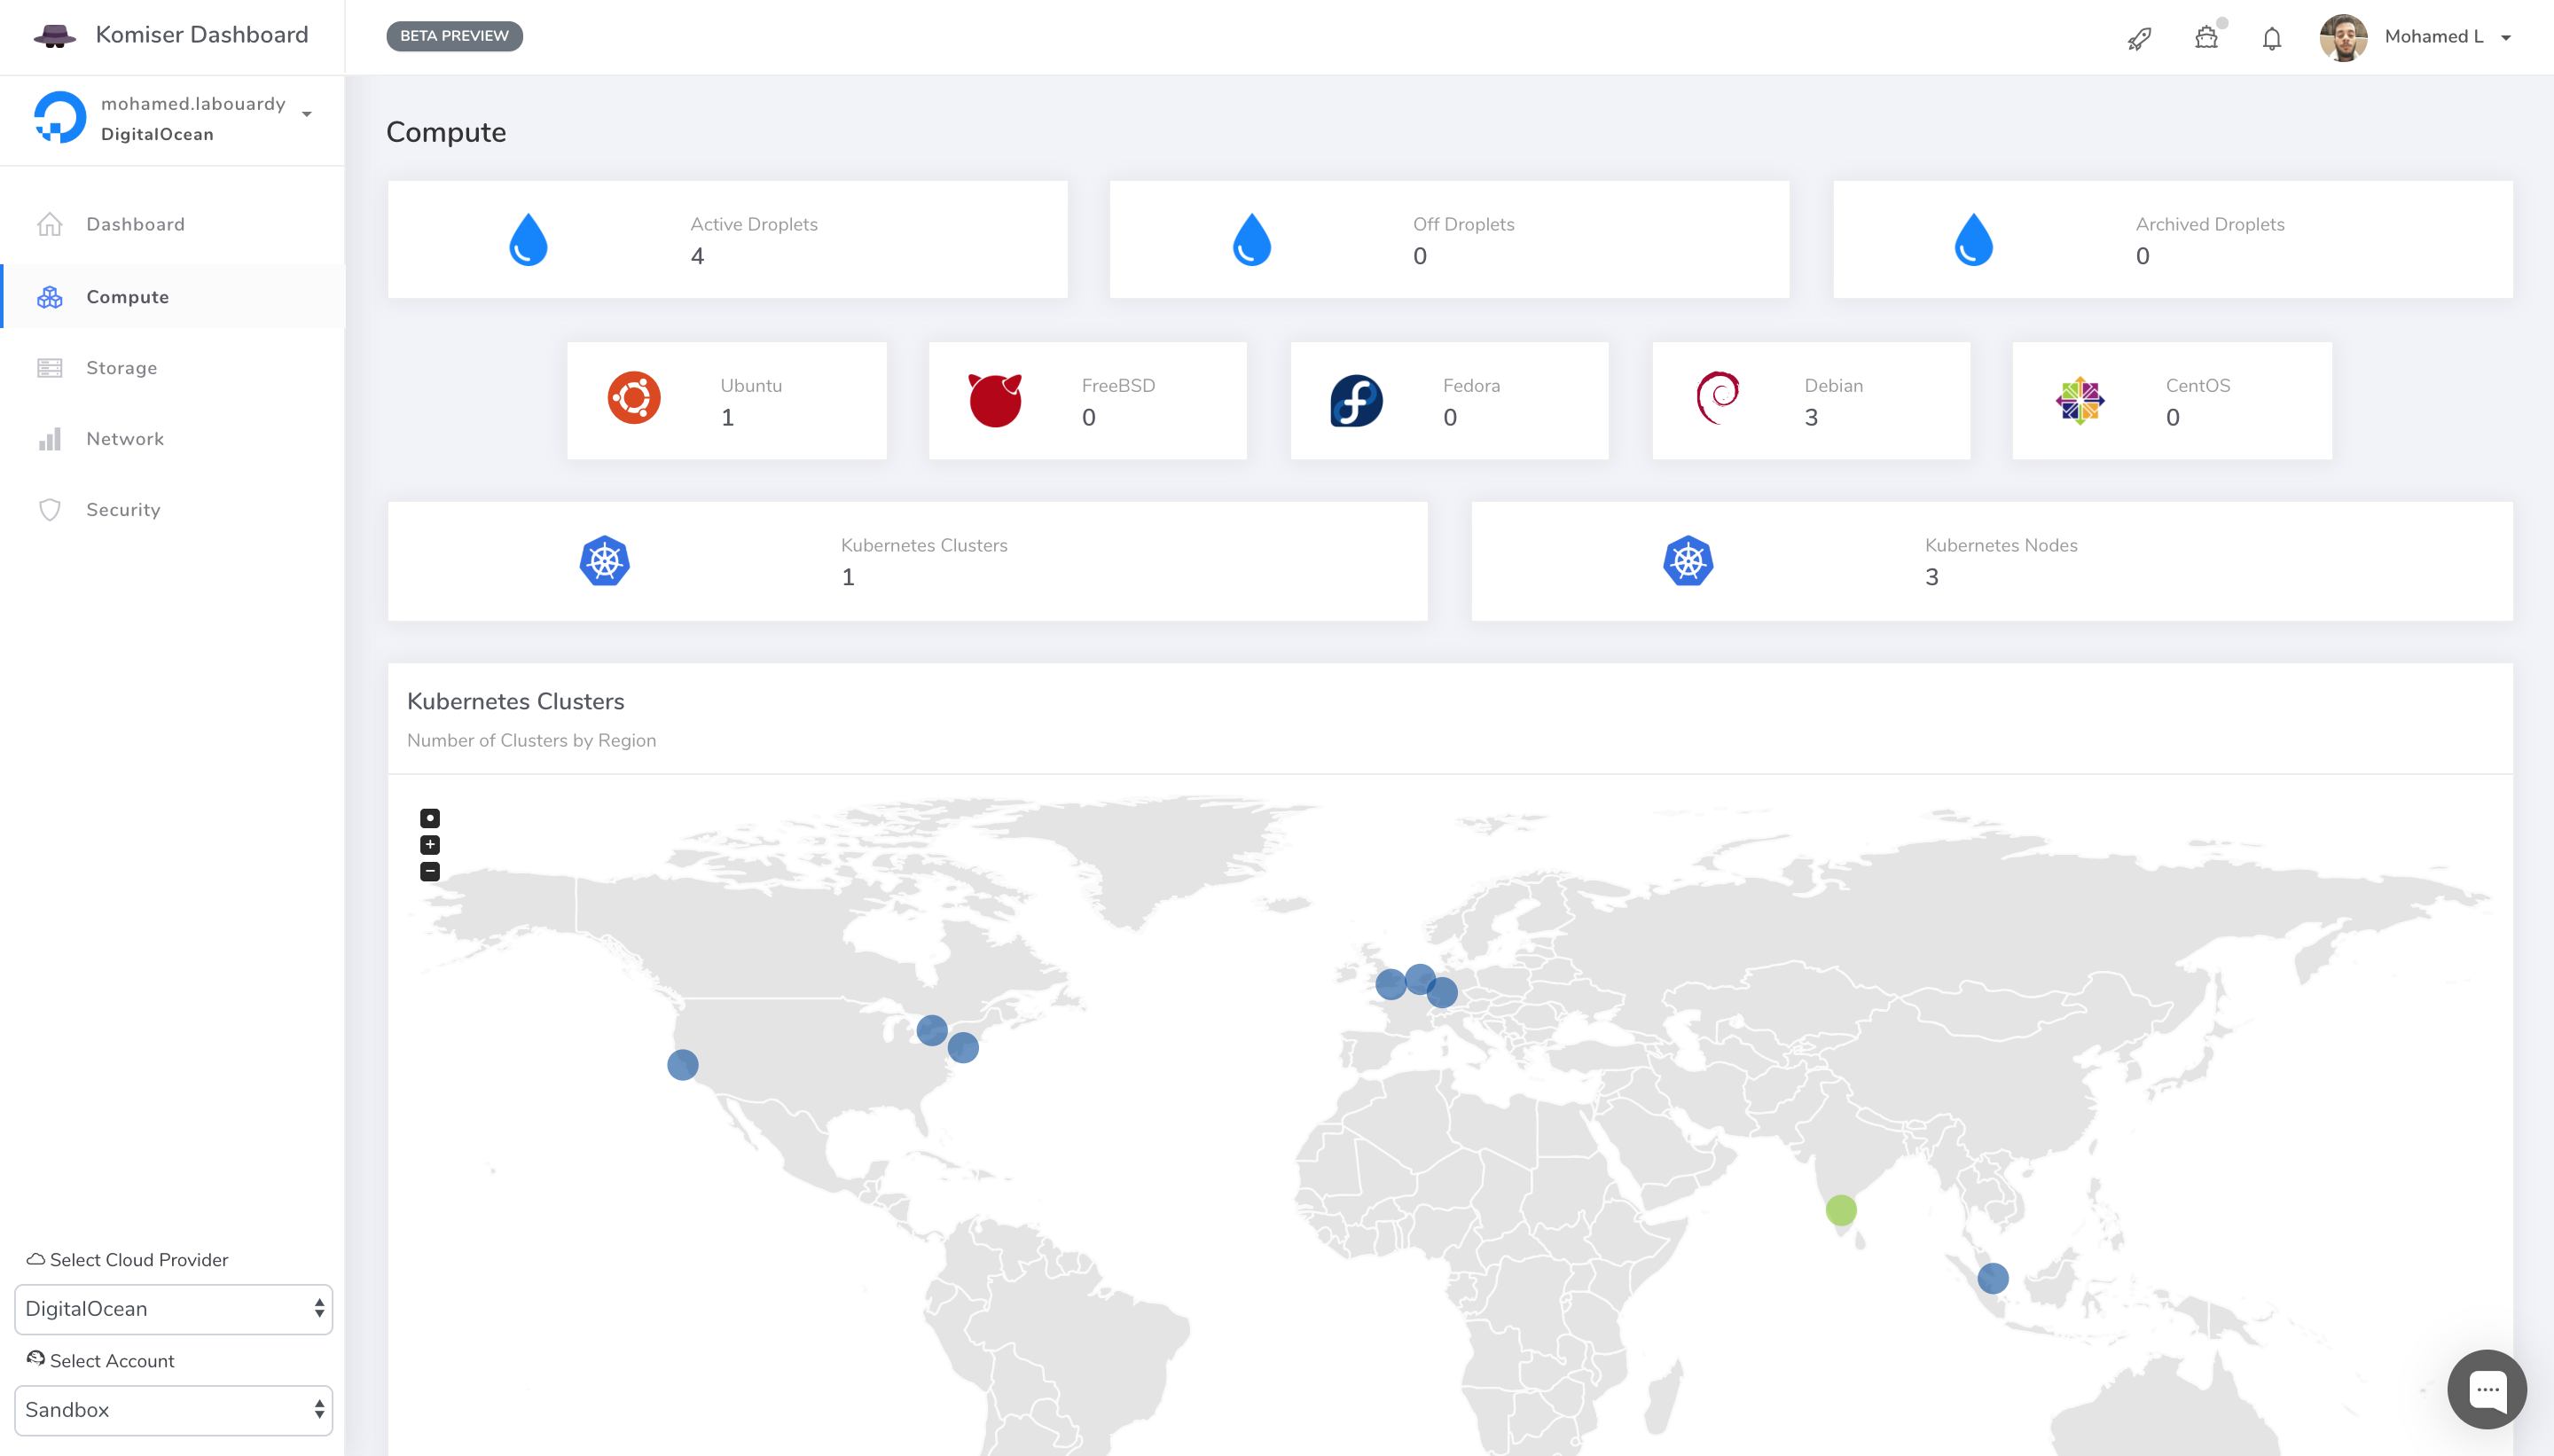
- If you point your browser to http://localhost:3000, you should be able to see your projects:
komiser start [OPTIONS]
   --port value, -p value      Server port (default: 3000)
   --duration value, -d value  Cache expiration time (default: 30 minutes)
   --redis value, -r value     Redis server (localhost:6379)
   --dataset value, -ds value  BigQuery dataset name (project-id.dataset-name.table-name)
   --multiple, -m              Enable multiple AWS accounts feature
When using the CLI with AWS, you'll generally need your AWS credentials to authenticate with AWS services. Komiser supports multiple methods of supporting these credentials. By default the CLI will source credentials automatically from its default credential chain.
-
Environment Credentials - Set of environment variables that are useful when sub processes are created for specific roles.
-
Shared Credentials file (~/.aws/credentials) - This file stores your credentials based on a profile name and is useful for local development.
-
EC2 Instance Role Credentials - Use EC2 Instance Role to assign credentials to application running on an EC2 instance. This removes the need to manage credential files in production.
When using the CLI with GCP, Komiser checks to see if the environment variable GOOGLE_APPLICATION_CREDENTIALS is set. If not an error occurs.
See our documentation on docs.komiser.io. The source repository for the documentation website is komiserio/docs.
Have a bug or a feature request? Please first read the issue guidelines and search for existing and closed issues. If your problem or idea is not addressed yet, please open a new issue.
Komiser is written in Golang and is Elv2 licensed - contributions are welcomed whether that means providing feedback or testing existing and new feature.
If you'd like to have your company represented and are using Komiser please give formal written permission below via a comment on this thread or via email to [email protected].
We will need a URL to a svg or png logo, a text title and a company URL.
We use SemVer for versioning. For the versions available, see the tags on this repository.


