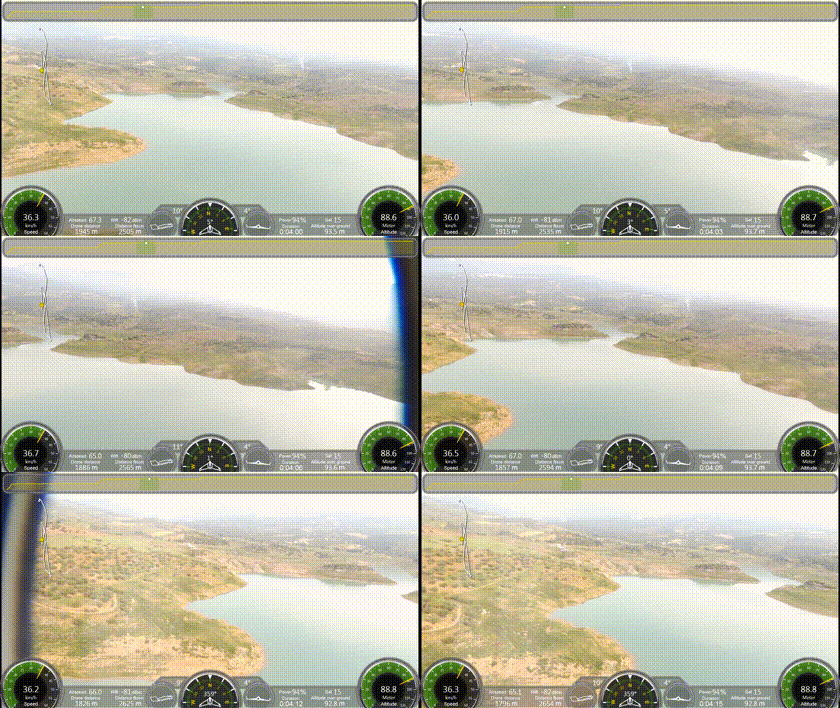
The Parrot Disco allows the pilot to tilt the camera view ("look up/down") via Skycontroller 2. However, there is also a built-in pan function ("look left/right"). Unfortunately, it's not available to the user for easy mapping in FreeFlight Pro. This mod allows the pilot to make full use of the camera panning feature besides the existing tilting function.
The video below shows the feature in action.
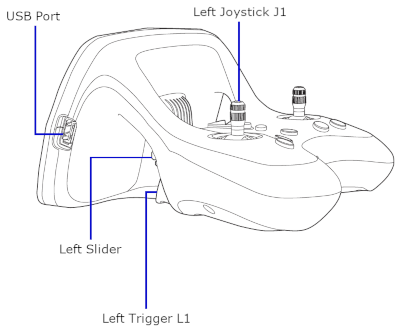
- After installing this mod, you can freely move the camera around by using the Left Trigger L1 in combination with the Left Joystick J1 (see picture below for reference).
- The camera can be centered by doing a double-click with two fingers on the FreeFlight Pro screen. The FreeFlight Pro app has a bug on some mobiles: if double-click does not work, enter the map (Google map) and exit it immediately: the double-click will then work.
- When moving the camera around, try not to release the Left Trigger L1 before releasing the Left Joystick J1.
- Failure to do so can produce a continuous camera movement event flow and the camera centering will not work properly.
- Proper operation can be restored by moving the camera again using the correct button sequence as described above.
- Parrot Disco / Parrot Disco-Pro AG with firmware 1.7.0, 1.7.1
- Skycontroller 2 (silver joysticks) with firmware 1.0.7 - 1.0.9 or
or - Skycontroller 2P (black joysticks) with firmware 1.0.3 - 1.0.5
You need a PC for the initial setup (to load the mapping file to Skycontroller 2 via Disco's Wi-Fi connection). These instructions should work on the latest OS versions of Windows, macOS and GNU/Linux.
- Download .zip archive of the latest campan mod
- Unzip contents (the extraction process automatically creates a new folder "disco-campan-master" or "disco-campan-x.y", where by x.y is the release version number)
- Turn on your Disco.
- Turn on Skycontroller 2 and wait until it's connected to the Disco via Wi-Fi (green LED).
- Connect your PC's Wi-Fi to the Disco (e.g. DISCO-123456).
- Use an FTP tool (e.g. FileZilla) to upload the mod to your Disco.
- Connect via FTP to 192.168.42.1 (no username/password required)
- You have to set the transfer type to Binary (not ASCII). In FileZilla under Edit → Settings... → Transfers → FTP: File Types → Default transfer type → change from Auto to Binary.
- Transfer the "disco-campan-master" or "disco-campan-x.y" folder to the "/internal_000" folder on the Disco.
- On Disco firmware 1.7.0 and newer: Double press the Disco's power button to enable the telnet server.
- Open a Command Prompt (Windows)/Terminal (macOS/Linux) and Copy/Paste the following commands manually to install the campan mod.
telnet 192.168.42.1(If you are getting "command not found" or "... is not recognized as an internal or external command", please check this FAQ article first)chmod +x /data/ftp/internal_000/disco-campan-*/campan_install.sh/data/ftp/internal_000/disco-campan-*/campan_install.sh
- That's all! 👻 your Skycontroller 2 should reconnect and the new mapping should be available immediately.
Also check out our amazing 4G/LTE softmod if you are interested in flying your Parrot Disco without any range limitation!
- Kudos to aragon and alexiter @ rcgroups.com
- Existing custom button mappings for your Disco will be lost by applying this mod. However, you can re-apply them manually afterwards in FreeFlight Pro.
- The default tilt function via the Left Slider will not be available anymore after applying this mod.
- The campan mod is independent of the 4G/LTE softmod, both can be installed at the same time.
- To uninstall, click the controller icon → BUTTONS MAPPING → RESET in FreeFlight Pro.
Instructions too technical? Having trouble installing the campan mod? Questions about our 4G/LTE softmod? Want to meet the developers? Interested in other mods (batteries, LEDs, etc.)? Interested to meet like-minded people? Having a great idea and want to let us know?
We have a great and very active community on Slack, come join us!


