Towa Quimbayo: LinkedIn | GitHub
Kian Azizkhani LinkedIn | GitHub
Pedro Sales-Muniz LinkedIn | GitHub
Alex Gibbison LinkedIn | GitHub
Milestone 1: Login / Logout - 100% Completed
Milestone 2: Patient, Therapist, and Admin user types - 100% Completed
Milestone 3: Admin Dashboard - 100% Completed
Milestone 4: Shopping Cart Component - 100% Completed
Milestone 5: Online Chat - 100% Completed
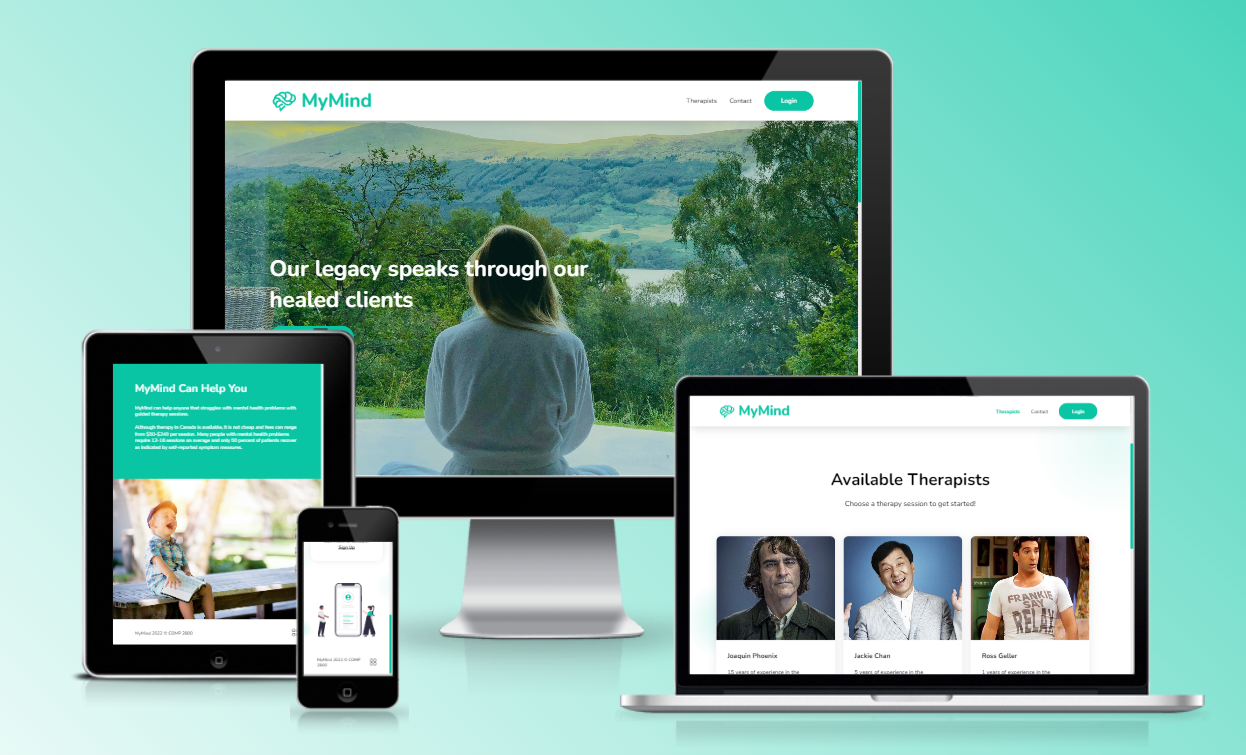
Our team BBY31
is developing MyMind which is a web application
to help people struggling with mental health problems
to provide professional help from our therapist specialist that can help improve their mental health
with guided therapy sessions.
Frontend - HTML, CSS
Backend - Node.js, JavaScript, jQuery, Ajax, MongoDB Altlas, Git, Heroku
Node.js Modules - Nodemon, Express.js, Express-session, Path, Mongoose, Multer, Http, Socket.io, Nodemailer, Bcrypt
- Install:
- VSCode at https://code.visualstudio.com/download
- Git at https://git-scm.com/downloads
- Node.js at https://nodejs.org/en/download/
-
Clone this repo from your command line.
-
Open the project with VSCode, open the IDE's terminal and run the command
npm install -
Create a new file in the public project directory and call it
.env. -
Connect your project to the database:
- Create a MongoDB Atlas account at https://mongodb.com
- Connect your project to the MongoDB Cluster by clicking on the "connect" button, choosing the "connect to your application" option and copying the link.
- Inside the .env file, make a new variable called
DATABASE_URLand assign it (=) to the link you copied from MongoDB, making sure to replace the 'username' and 'password' fields in the url to your database access credentials. - Full MongoDB setup tutorial at https://www.youtube.com/watch?v=2QQGWYe7IDU&ab_channel=TraversyMedia
-
Make an hotmail for your project and add 2 variables to your .env file:
MAIL_USER=<your-email-address>
MAIL_PASS=<your-password> -
Run the project by typing "npm run devStart" and going to http://localhost:8000/ on your browser.
- Make a new Patient Account
- Go to the MongoDB and edit that account's userType attribute to "admin"
- Login with that account
- Click 'Admin Dashboard' on the navbar
- You can now see a list of every user that signed up to your application
- You can Create new users (even admin users), edit and delete existing users
- Checkout, then live chat. Follow these directions.
- Sign in as a patient
- Visit the "Therapist" Page and click "purchase session" under the therapist card.
- Once you click purchase session you will be redirected to the checkout page.
- a - At this point you can test that the checkout is saved by logging out and logging back in or visiting other pages and returning to the "checkout" page afterward.
- b - You can also delete your cart by clicking on the 'remove' button
- Then click "1 year" in the package plan dropdown. This will allow you to chat with your selected therapist for 15 minutes.
- After that click "confirm order"
- If you are in mobile view, click the menu in the bottom right.
- Then click the chat sessions icon
- Sign into the therapist using another private browser window.
- Sign into the therapist account purchased
- click the chat sessions icon located in the bottom right of the screen or in the mobile navbar inside the nav bar icon labeled "chat session"
- Open both windows, the therapist and patient side by side.
- Test sending messages back and forth (remember you only have 15 minutes).
- BONUS. you can click the messages to see when they were sent.
- When your session is over a warning will be displayed.
- Click 'Login' on the navbar
- Click 'Sign up' on the navbar
- Make a new account of any type (patient or therapist)
- Log into the account you just created
- Click 'Account' on the navbar
- Change some information on the input fields
- Add a profile picture
- Click 'Save'
- Refresh and see that your information was changed on the DB
- Click 'Login' on the navbar
- Click 'Sign up' on the navbar
- Type 'batman' in the username field
- Get mindblown
Pull requests are welcome. Please divide your PRs in 3 sections: Problem, Solution, Testing.