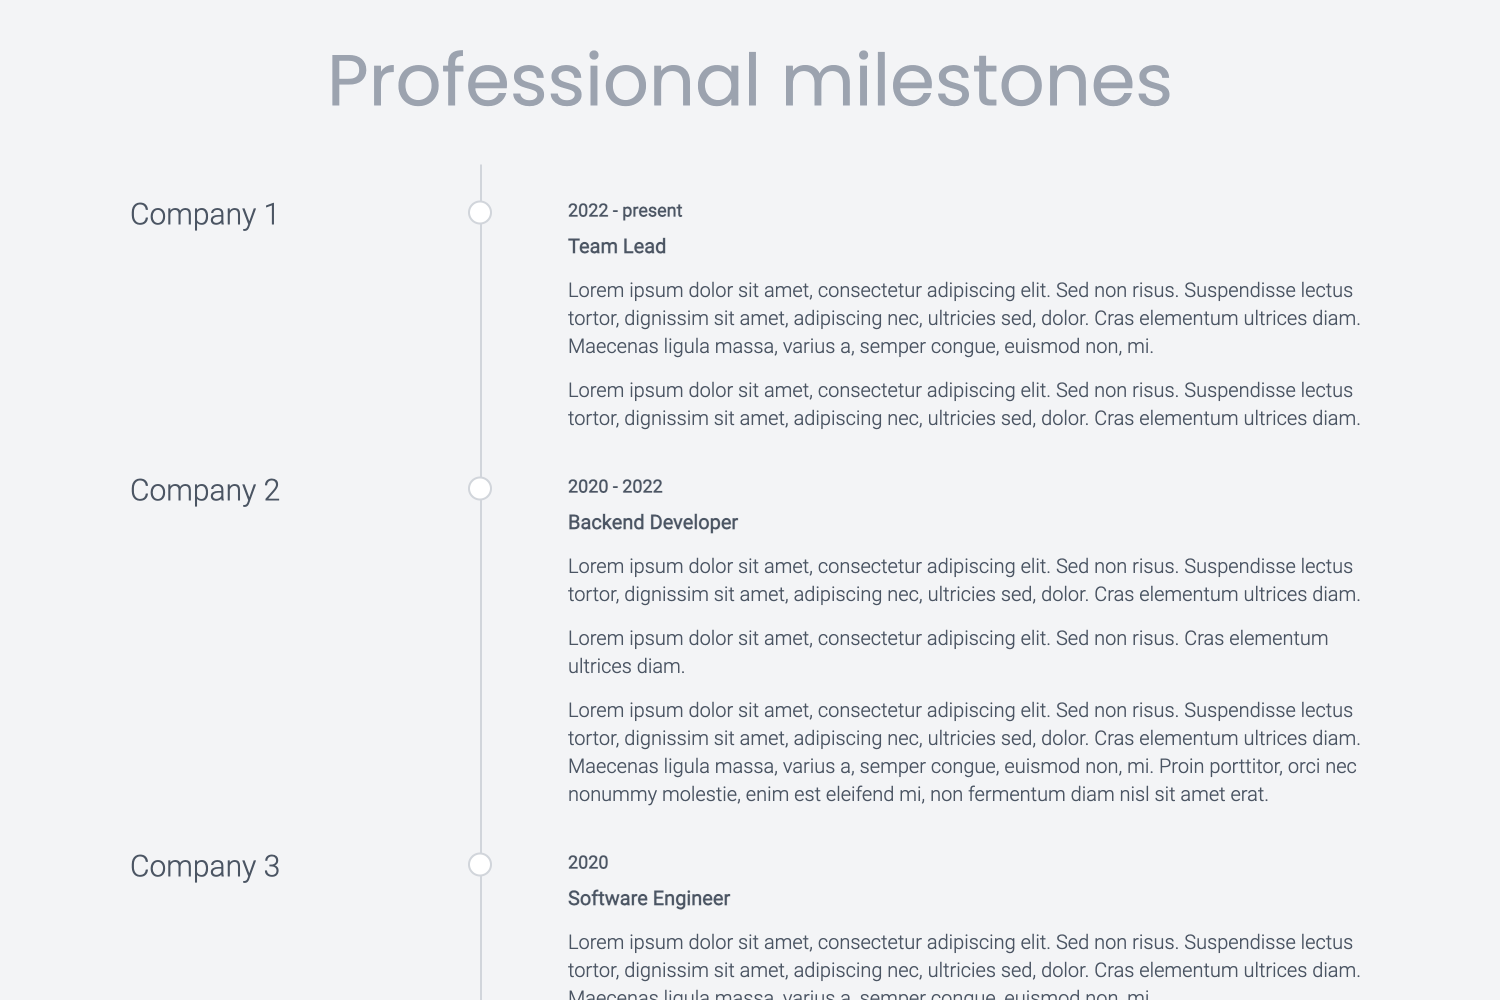
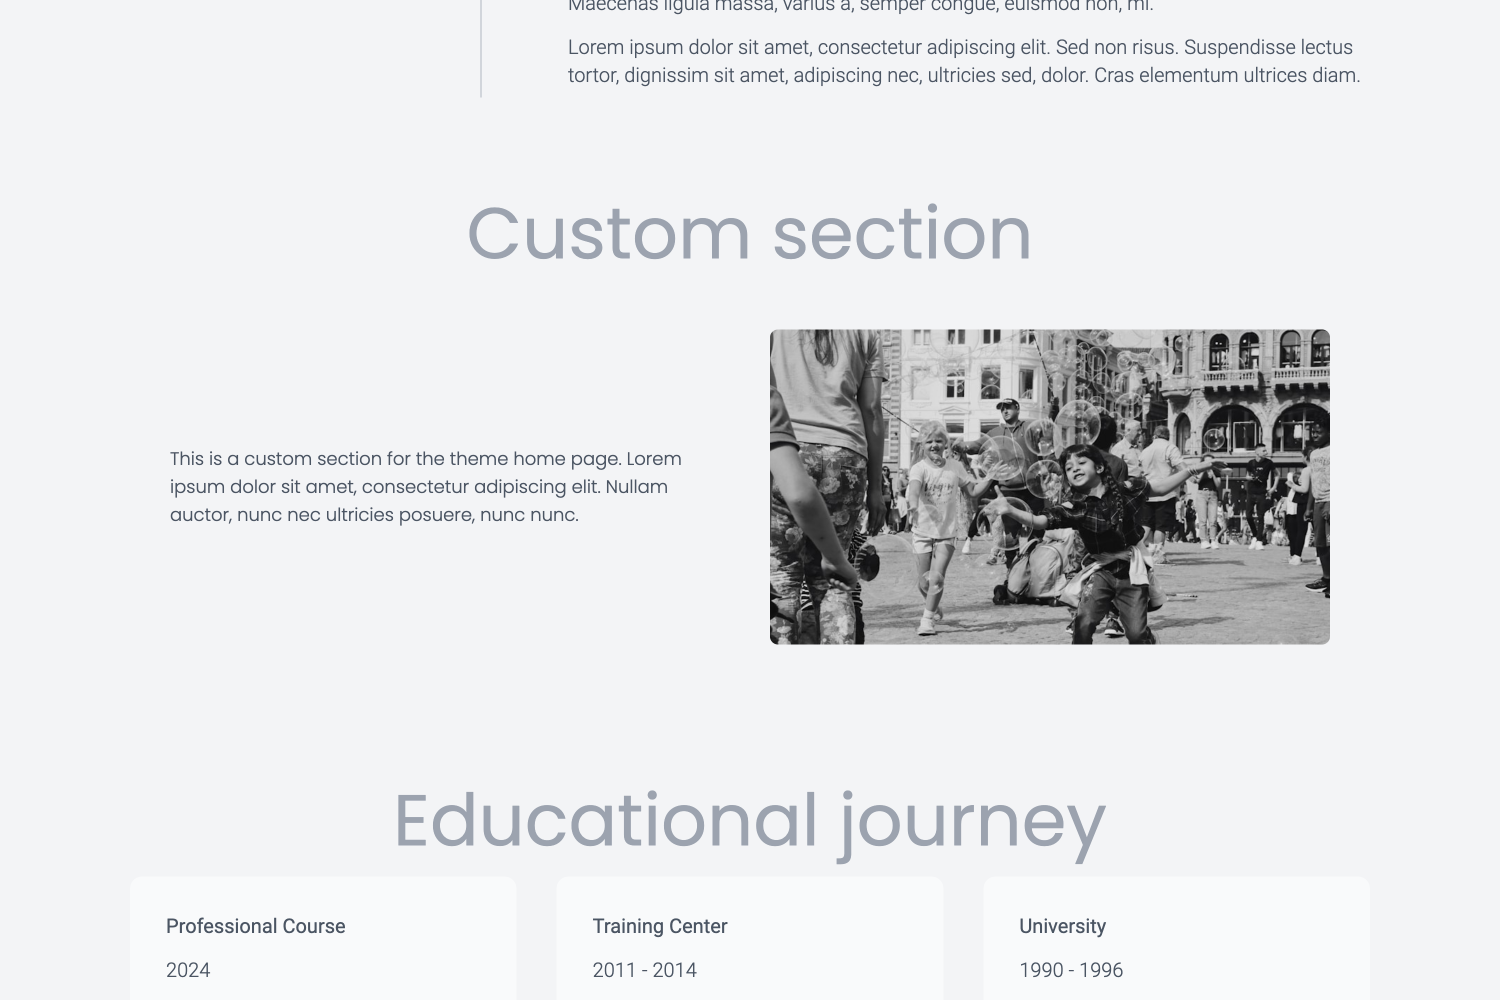
The hugo-porto is a personal portfolio theme for Hugo. It features a minimalist design that focuses on showcasing your
projects and achievements. This theme is perfect for developers, designers, and creatives who want to create a simple
yet powerful online portfolio.
The theme is under active development, and new features are being added regularly. If you have any suggestions or feature requests, please open an issue on the GitHub repository. I would love to hear your feedback and ideas for improving the theme.


- Responsive Design: The theme is fully responsive and works on all devices, including smartphones, tablets, and desktops.
- Customizable: The theme is highly customizable and allows you to configure various aspects of your website.
- Lightweight: The theme is lightweight and optimized for performance, ensuring fast load times.
- SEO Friendly: The theme is SEO friendly and includes meta tags and structured data to help search engines index your site.
- Social Media Integration: The theme includes social media integration, allowing you to link to your social media profiles.
- Google Analytics: The theme includes Google Analytics integration, allowing you to track visitors to your site.
- Syntax Highlighting: The theme includes syntax highlighting for code snippets, making it easy to showcase your code.
- Tailwind CSS: The theme uses Tailwind CSS for styling, making it easy to customize the design of your site.
I'm constantly working on improving and expanding the features of this theme. If you find that a feature you need is missing, please feel free to contact me. I'm open to dialogue and would be happy to discuss potential additions to the theme.
Features planned to implement in the nearest future:
- Opengraph and SEO meta information
- Default mock data to easy install and implementaton
- More configuration options
- More examples and documentation
- Dark mode switcher
If you have any suggestions or feature requests, please open an issue on the GitHub repository. I would love to hear your feedback and ideas for improving the theme.
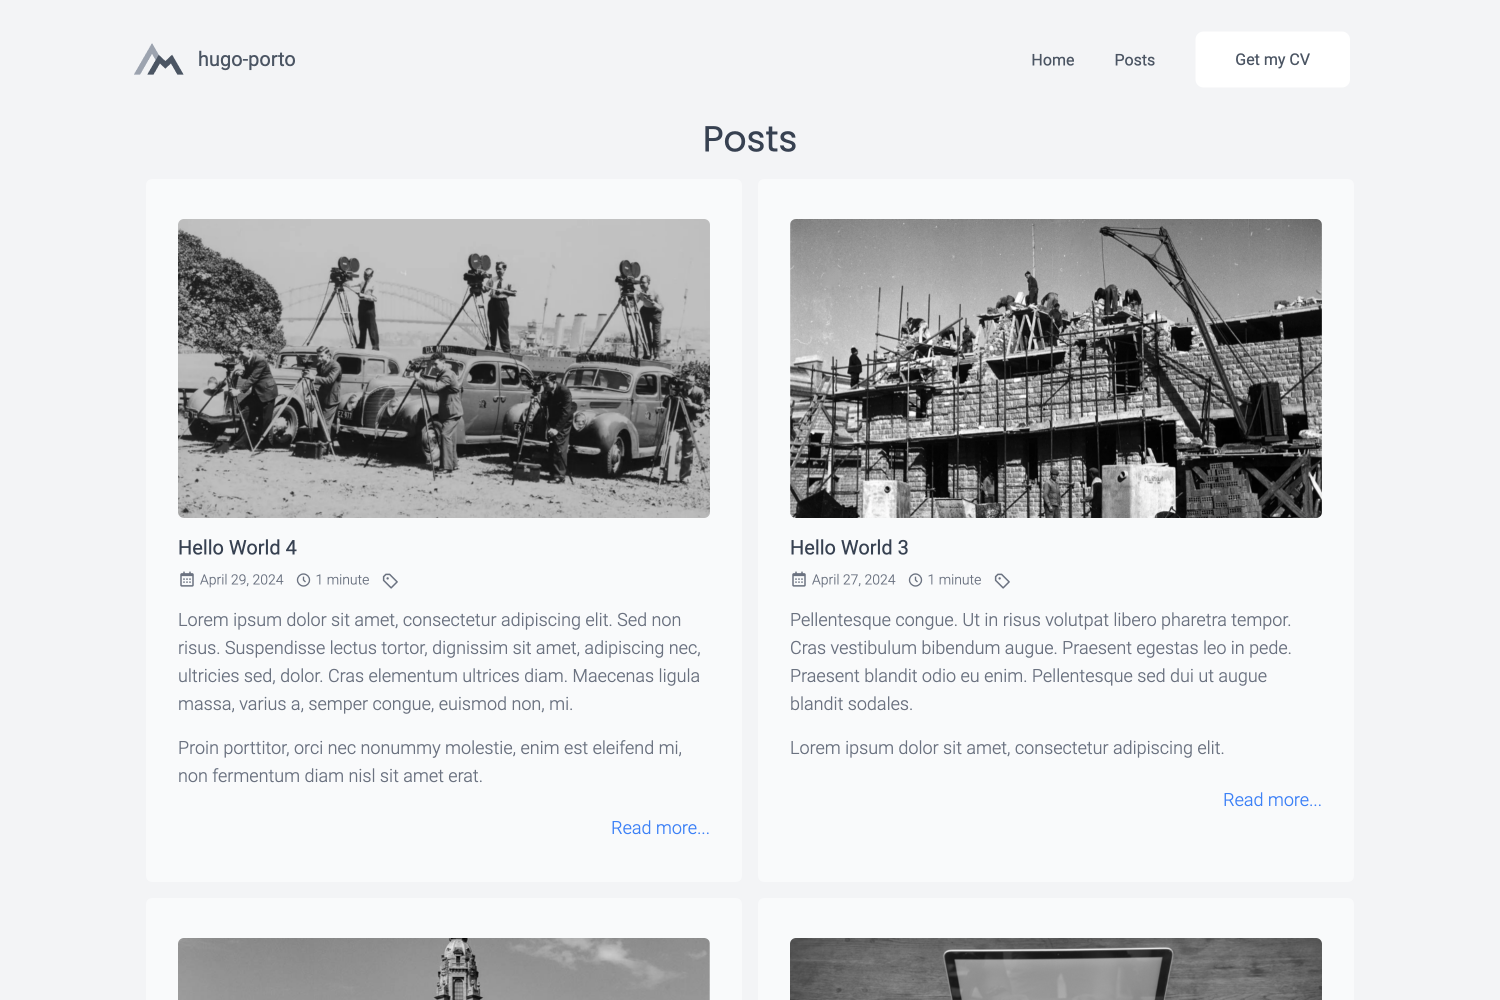
For a live demonstration of the theme in action, please visit the demo website at
https://hugo-porto.netlify.app/. This demo site showcases all the features and design
elements that the hugo-porto theme has to offer, providing a comprehensive overview of its capabilities.
You can find the source code for the demo website at https://github.com/hugo-porto/web.
In addition, you can find a real-world example of the theme in action on my personal website at https://andrew.molyuk.com. The source code for my website is available at https://github.com/andrewmolyuk/andrew.molyuk.com
- Hugo - a popular open-source static site generator written in Go.
The simplest method to use this theme is by forking the web sample repository. Afterwards, adjust the configurations to suit your requirements.
If you want to install the theme from scratch using Hugo modules, follow these steps:
-
First, ensure that you have Hugo installed on your system. You need version 0.116.0 or higher.
-
Create a new Hugo site if you haven't already. You can do this by running the following command in your terminal:
hugo new site mysite
Replace
mysitewith the name of your site. -
Navigate to the root directory of your new site:
cd mysite -
Initialize Hugo modules:
hugo mod init github.com/<your username>/<your repo name>
-
Add the
hugo-portotheme as a Hugo module in your configuration file:[module] [[module.imports]] path = "github.com/hugo-porto/theme"
-
Download latest version of the theme:
hugo mod tidy
-
Finally, start your Hugo server:
hugo server
You should now be able to see your new site at
http://localhost:1313. -
Now you have to add configuration files to your data folder according your needs. You can see example files at https://github.com/hugo-porto/web/tree/main/data.
The hugo-porto theme is highly customizable and allows you to configure various aspects of your website.
You can find the configuration files in the data folder of the sample repository. You can adjust any setting to suit
your needs. So here is a list and the customizable content of the of configuration data files:
This file define the order of the sections on the home page. You can add or remove sections and change the order of the sections.
[[section]]
  id      = "hero"
  enabled = true
  weight  = 1

...

[[section]]
  id      = "testimonials"
  enabled = true
  weight  = 6
Each section has three properties:
idis the unique identifier of the section and should match the filename of the section template. For example, theherosection id corresponds to thedata/sections/hero.tomlconfiguration file.enabledis a boolean value to enable or disable the section.weightis the order of the section.
This file contains the footer configuration. You can add your social media links and other information here.
[[social]]
  type = "github"
  url  = "add your GitHub profile link here"
The social section contains the following properties:
-
typeis the name of the social media platform. The following values allowed:facebooklinkedingithubinstagramyoutubedribbblebehancemediumtelegramwhatsapp
-
id: is the profile id or username on the social media platform.
This file contains the navigation bar configuration. You can add or remove menu items here.
[[menu]]
  text        = "Home"
  description = "Welcome to my personal website"
  link        = "/"
  target      = "_self"
The menu section contains the following properties:
textis the text of the menu item.descriptionis the description of the menu item.linkis the URL of the menu item.targetis the target attribute of the menu item.
Additionally, you can configure the following properties in the navbar.toml file:
title = "#andrewmolyuk"
logo  = "img/logo.svg"

[button]
  enabled = true
  text    = "Get my CV"
  link    = "files/Andrew Molyuk.pdf"
  target  = "_blank"
Where:
titleis the title of the website.logois the path to the logo image (supports both local asset paths like"img/logo.svg"and external URLs).buttonis the configuration of the button in the navigation bar.enabledis a boolean value to enable or disable the button.textis the text of the button.linkis the URL of the button.targetis the target attribute of the button.
If you encounter issues with logo rendering (e.g., "nil pointer evaluating resource.Resource.RelPermalink"), ensure your
data/navbar.toml file has a valid logo configuration:
# Use a local asset (preferred)
logo = "img/logo.svg"

# Or use an external URL
logo = "https://example.com/logo.png"

# Or use an empty string to use the default
logo = ""
The theme includes robust error handling to prevent rendering failures regardless of logo configuration.
If you want to see a real-world example of the theme in action, you can check out the following websites:
- andrew.molyuk.com - my personal website, which uses the
hugo-portotheme.
If you are using the hugo-porto theme on your website and would like to be featured here, please let me know. I would
be happy to include your website in the list of real-world examples.
If you have any suggestions, feature requests, or bug reports, please open an issue on the GitHub repository. I am open to contributions and would be happy to discuss potential improvements to the theme.
If you would like to contribute to the theme, please fork the repository and submit a pull request. I will review any pull requests and merge them if they provide value to the theme.
This project uses semantic-release for automated version management and releases.
Commit Message Format:
Follow Conventional Commits specification. Commit messages are automatically validated using commitlint:
feat:- new features (triggers minor version bump)fix:- bug fixes (triggers patch version bump)docs:- documentation changesstyle:- formatting, missing semicolons, etc.refactor:- code changes that neither fix bugs nor add featuresperf:- performance improvementstest:- adding missing testsbuild:- changes that affect the build systemci:- changes to CI configuration fileschore:- maintenance tasks
Examples:
feat: add dark mode toggle
fix: resolve navbar mobile menu issue
docs: update installation instructions
Breaking Changes: Add BREAKING CHANGE: in the commit body or use ! after the type (e.g., feat!:) to trigger a
major version bump.
Release Process:
Releases are fully automated through GitHub Actions:
- On Pull Request: CI workflow runs linting, building, and commit message validation
- On Push to Main: CI workflow runs first, then release workflow triggers
- Semantic Release: Analyzes commit messages to determine version bump type
- Automated Tasks: Updates
package.json, creates git tag, and publishes GitHub release with generated notes
CI/CD Pipeline:
- Linting: Markdown and SCSS validation
- Building: TailwindCSS compilation and Hugo static site generation
- Commit Validation: Commitlint ensures conventional commit format
- Release: Automatic versioning and GitHub release creation
Local Testing:
# Test what the next release would be (dry-run)
make release-dry

# Run CI checks locally
make build
make lint
I appreciate any contributions and would like to thank you in advance for your support.
This theme is distributed under the MIT License. See LICENSE for more information.