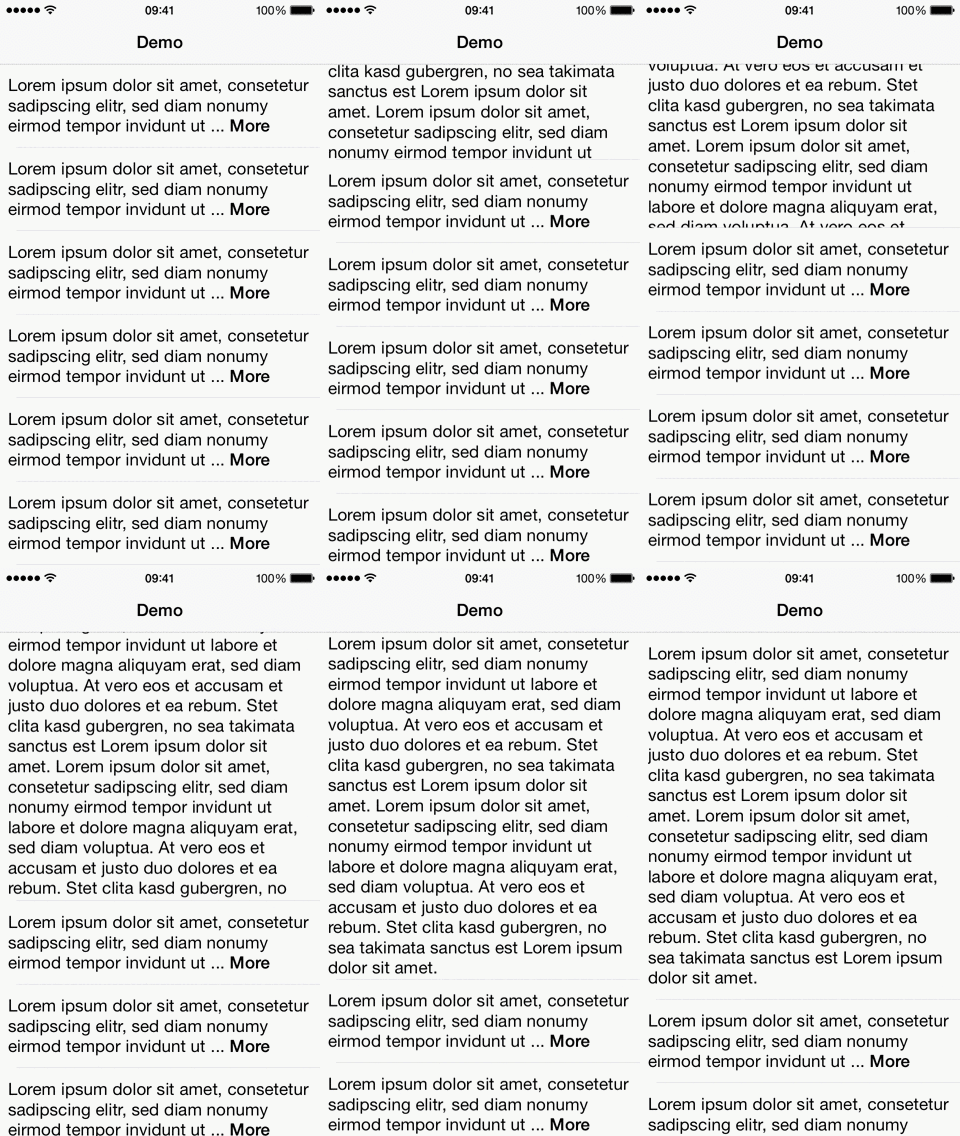
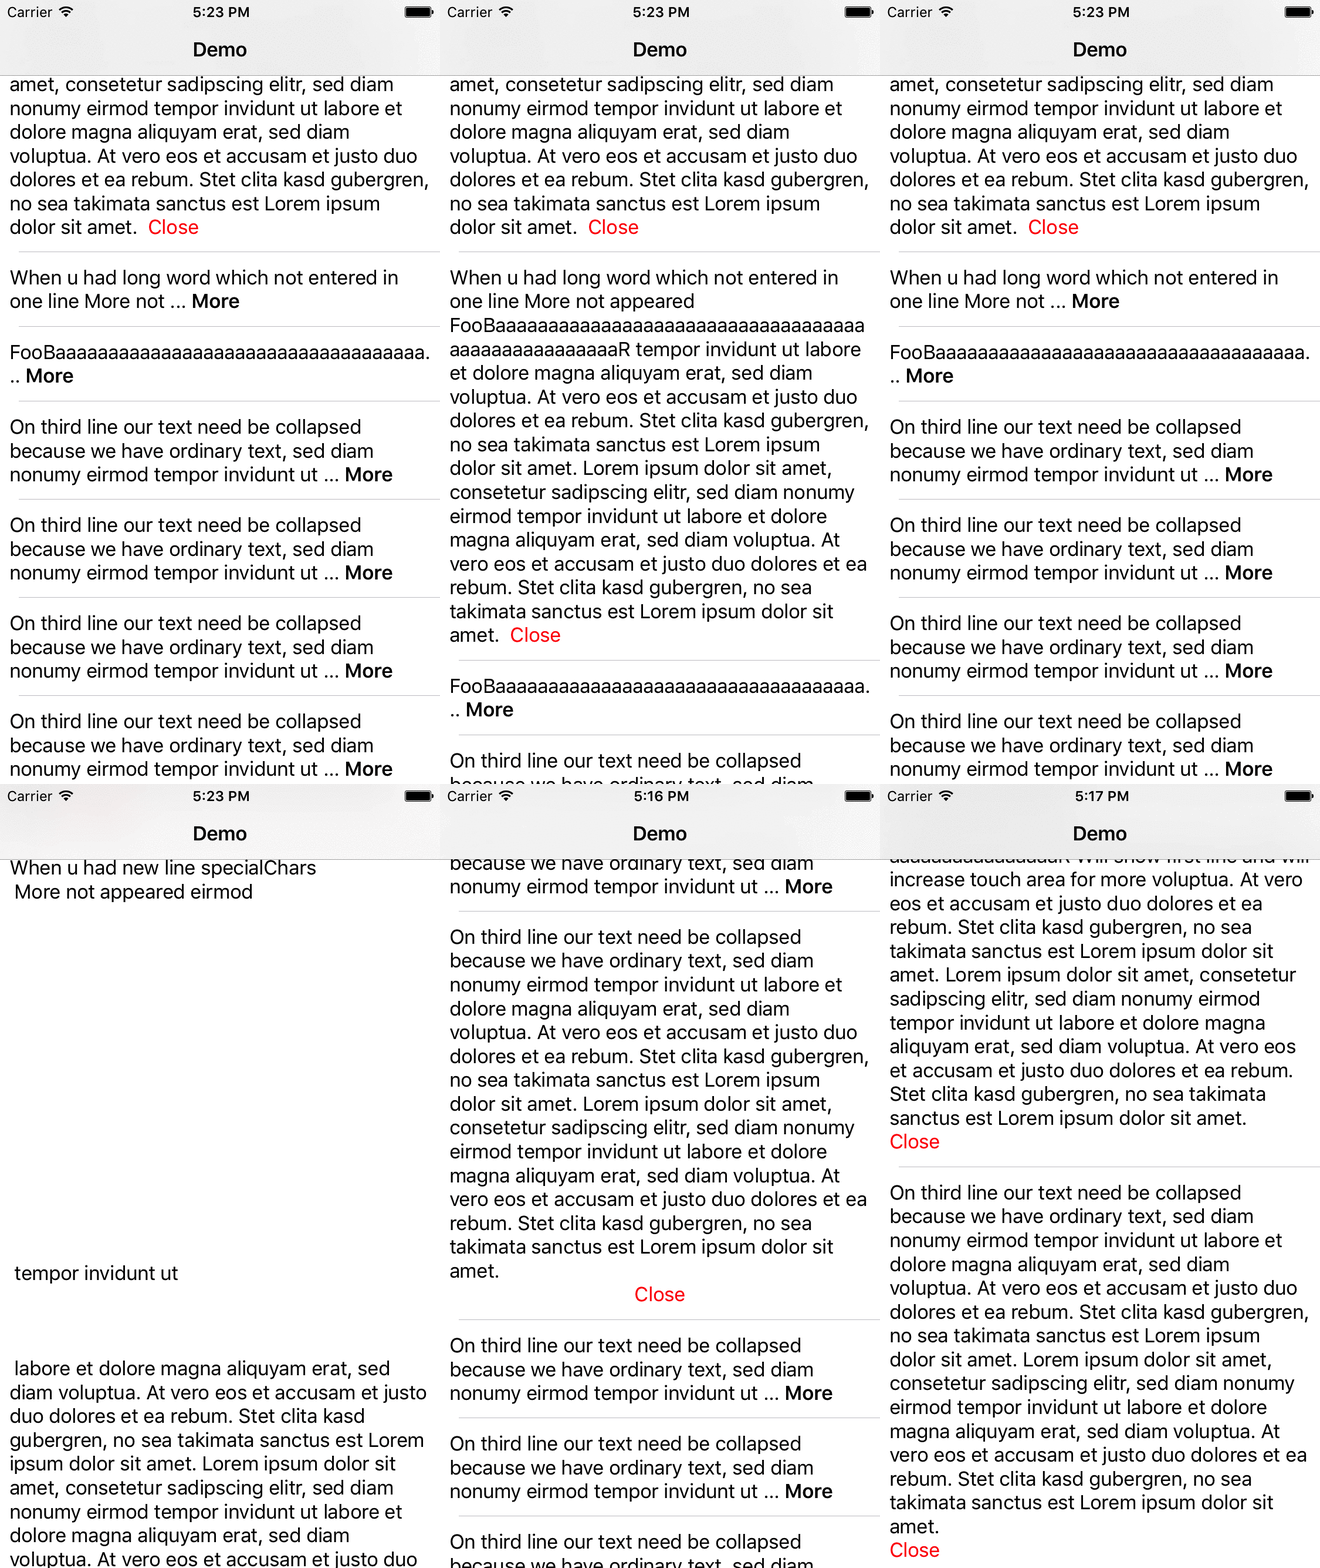
- iOS 9.0+
For FXExpandableLabel, use the following entry in your Podfile:
pod 'FXExpandableLabel', '~>0.1'Make the following entry in your Cartfile:
github "feixue299/FXExpandableLabel" ~> 0.1
Create a Package.swift file.
let package = Package(
    dependencies: [
        .package(url: "https://github.com/feixue299/FXExpandableLabel.git", from: "0.1.0")
    ],
    // ...
)Using FXExpandableLabel is very simple. In your storyboard, set the custom class of your UILabel to FXExpandableLabel and set the desired number of lines (for the collapsed state):
expandableLabel.numberOfLines = 3Apart from that, one can modify the following settings:
Set a delegate to get notified in case the link has been touched.
Set true if the label should be collapsed or false for expanded.
expandableLabel.collapsed = trueSet the link name (and attributes) that is shown when collapsed.
expandableLabel.collapsedAttributedLink = NSAttributedString(string: "Read More")Set the link name (and attributes) that is shown when expanded. It is optional and can be nil.
expandableLabel.expandedAttributedLink = NSAttributedString(string: "Read Less")Setter for expandedAttributedLink with caption, String attributes and optional horizontal alignment as NSTextAlignment. If the parameter position is nil, the collapse link will be inserted at the end of the text.
expandableLabel.setLessLinkWith(lessLink: "Close", attributes: [NSForegroundColorAttributeName:UIColor.red], position: nil)Set the ellipsis that appears just after the text and before the link.
expandableLabel.ellipsis = NSAttributedString(string: "...")
