![]()
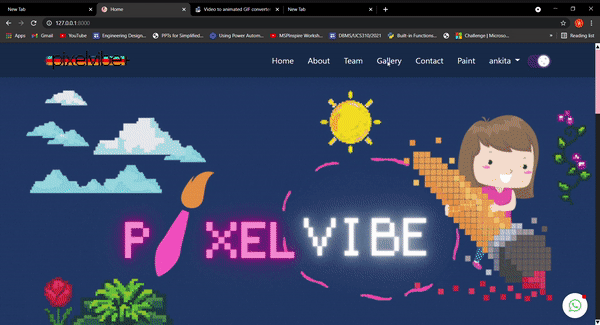
PixelVibe is a pixel-art maker which is mainly made for the creative art lover in you 😃
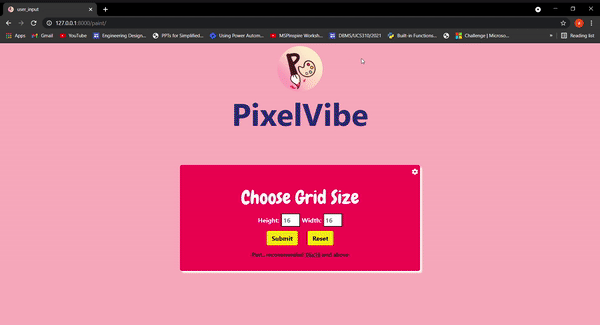
- Variable canvas size as per user requirement
- Choice of colors for user
- A drop-down menu for
- Brush of varying sizes
- Eraser for clearing
- Undo feature
- Delete feature to clear the screen
- color fill to fill up the page
- Signin / sign up page
- Forgot password feature
- Can change the password when required
PixelVibe uses a number of open source projects to work properly:
PixelVibe
│
├───PixelVibe                  # Main Project Directory
│
├───home                       # Project Main App Directory
│   │
│   └───migrations              # Migrations
│
├───static
|   |                           # Static Directory
│   └───|
│       ├───assets              # Image Files
|       |
│       ├───css                 # CSS Files
|       |
|       ├───fonts               # Fonts Used
│       │
|       ├───JS                  # js Files
│       │
│       ├───favicons            # favicons
│       |
│
│
|
├───templates                   # Root Template Directory (all html templates)
|
├───db.sqlite3                  # Database  File
|
├───manage.py                   # For running django server
|
├───requirements.txt            # All modules which are used in project
To work on an open-source project, you will first need to make your copy of the repository. To do this, you should fork the repository and then clone it so that you have a local working copy.
Get your own Fork/Copy of repository by clicking Fork button right upper corner.
After the repository is forked, you can now clone it so that you have a local working copy of the codebase.
To make your local copy of the repository follow the steps:
- Open the Command Prompt
- Type this command:
$ git clone https://github.com/<your-github-username>/pixelvibeThis is one of the very important step that you should follow to contribute in Open Source. A branch helps to manage the workflow, isolate your code and does not creates a mess. To create a new branch:
$ git branch <name_of_branch>
$ git checkout -b <name_of_branch>
Keep your cloned repo upto date by pulling from upstream (this will also avoid any merge conflicts while committing new changes)
git pull origin main1. Create a Virtual Environment
- On macOS and Linux:
python3 -m venv env
- Windows
py -m venv env
2. Activate the Virtual Environment
- On Windows
.\env\Scripts\activate
- On macOS and Linux:
source env/bin/activate
3. Install dependencies using
pip install -r requirements.txt4. Make Migrations
  python manage.py makemigrations
  python manage.py migrate
5. Run Server
python manage.py runserver6. Create admin
python manage.py createsuperuser5. Go to http://127.0.0.1:8000/ and enjoy the application.
Make relevant changes according to the issue that you were assigned on. Contribute in any way you feel like :)
Once you have modified an existing file or added a new file to the project, you can add it to your local repository, which we can do with the git add command.
git add .With our file staged, we’ll want to record the changes that we made to the repository with the git commit command.
The commit message is an important aspect of your code contribution; it helps the other contributors fully understand the change you have made, why you made it, and how significant it is.
git commit -m "useful commit message"At this point you can use the git push command to push the changes to the current branch of your forked repository:
git push origin <branch-name>Now, you are ready to make a pull request to the original repository.
You should navigate to your forked repository, and press the "Compare & pull request" button on the page.
GitHub will alert you that you can merge the two branches because there is no competing code. You should add in a title, a comment, and then press the “Create pull request” button.
Please go through the Contributing guidelines here.
You can find the Code of Conduct here.
- Please follow the guidelines of PEP8 as given in here.
- Please follow the guidelines of python module pycodestyle as given in here.
 Ankita Puri |
 Adarsh Vulli |
 Arpit Jain |
This repository is contribution friendly. If you would like to add or improve, your contribution is welcome!
Do not forget to follow Contribution Guidelines and Code of Conduct 😃
The PixelVibe is released under the under terms of the MIT License.
This project is a part of GSSOC 2021.

This project is a part of SWOC 2021.


show some ❤️ by giving the star to this repo