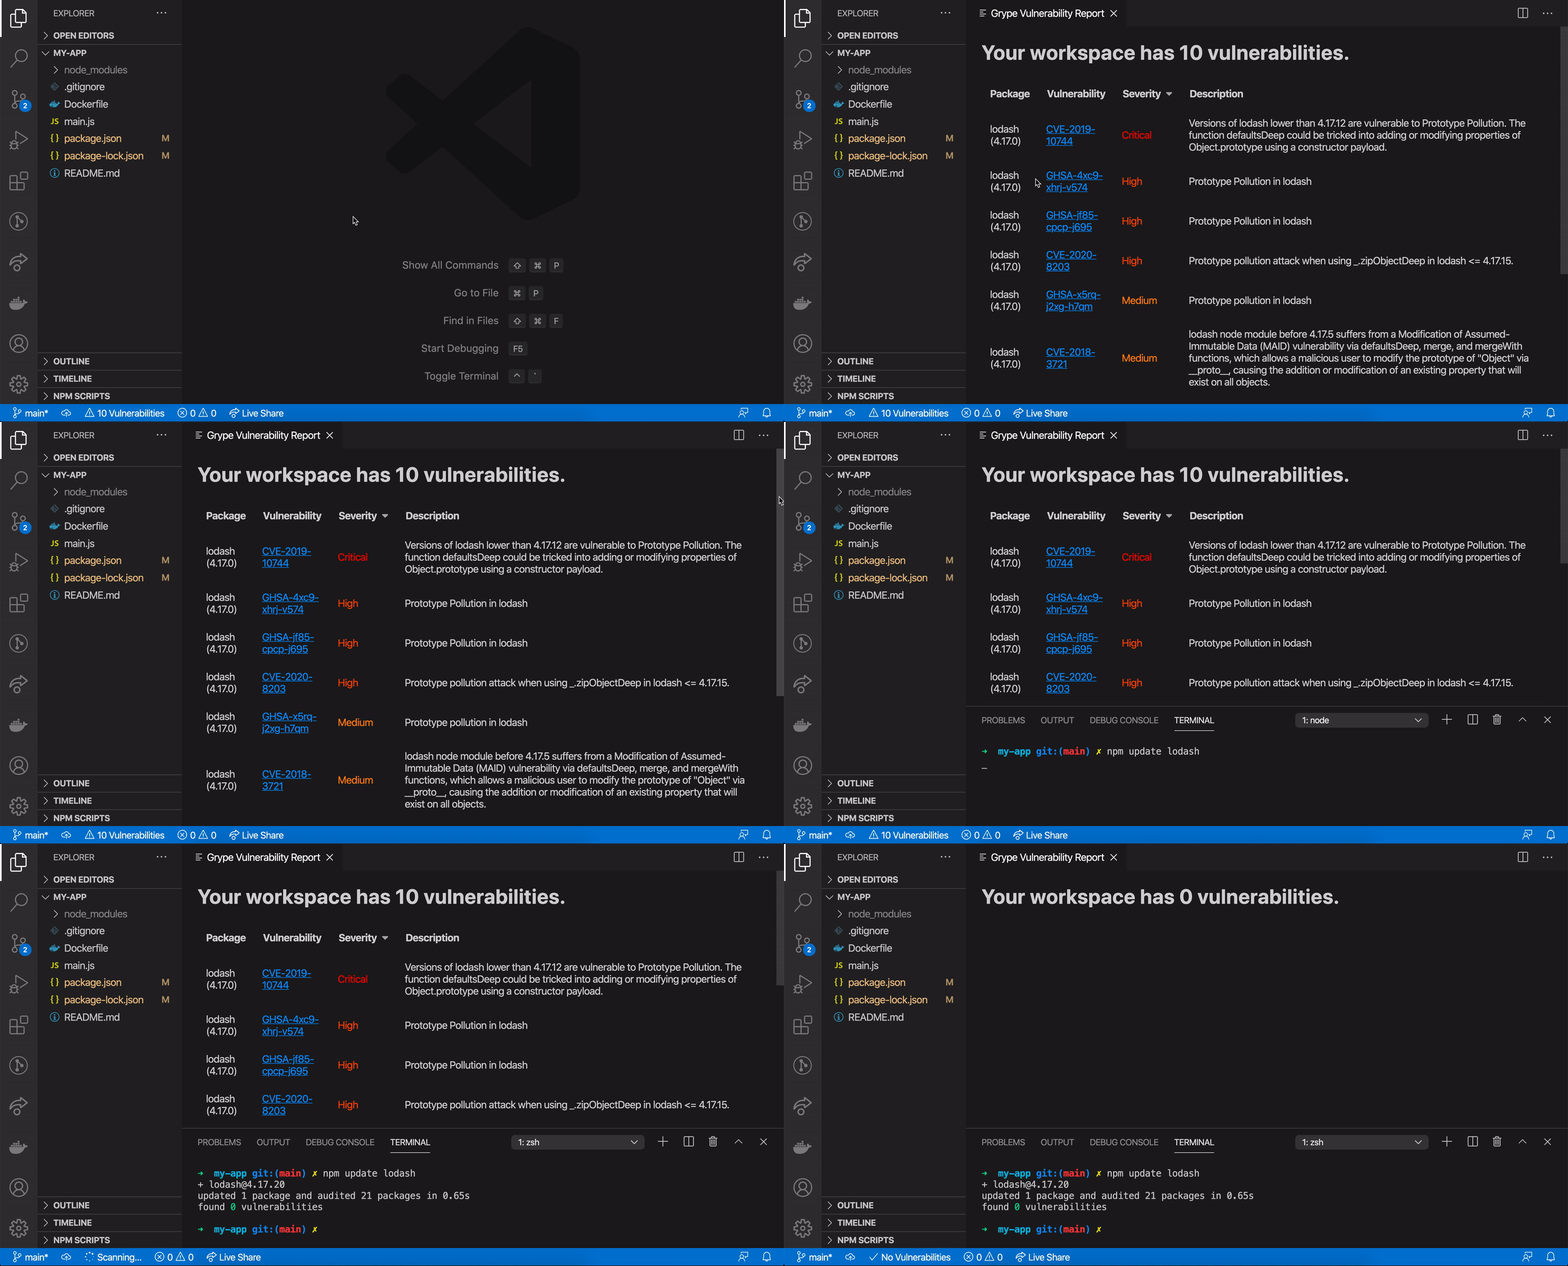
The Grype extension for Visual Studio Code makes it easy to know when your project is using dependencies that have known security vulnerabilities.
IMPORTANT: Windows support is not yet available. This extension supports only macOS and Linux.
This extension brings Grype into your Visual Studio Code experience. For the raw CLI capabilities, be sure to check out Grype.
To install the extension, open the Extensions view, search for "grype" to filter results, and select the Grype extension authored by Anchore, Inc.
There is no need to install the Grype binary before installing this extension. This extension maintains its own instance of the Grype binary, so as not to interfere with any other installation of Grype.
The extension watches for changes to files in order to proactively scan your project for vulnerabilities.
The current count of vulnerabilities is displayed in the status bar at the bottom of the window.
Automatic scanning is enabled by default. You can disable it for your workspace using either of these methods:
- Click on Grype's status bar item, and select the action "Disable Automatic Scanning".
- Launch the Command Palette, and run the command "Grype: Disable Automatic Scanning".
You can enable automatic scanning again using either the status bar item or the Command Palette.
Get a list of your project's vulnerabilities in a sortable table, which sorts by severity (highest to lowest) by default.
Learn more about a vulnerability by clicking the link in the Vulnerability column.
The report is updated automatically as scans complete.
The extension adds a CodeLens provider that allows you to see how many vulnerabilities the current file is contributing to your project's total count of vulnerabilities.
Clicking the vulnerability count opens the full Vulnerability Report.
You can always initiate a vulnerability scan manually. You can do this using either of these methods:
- Click on Grype's status bar item, and select the action "Scan Now".
- Launch the Command Palette, and run the command "Grype: Scan Now".
To set up a local development environment:
- Make sure you have VS Code installed. (If not, you can download it from here.)
- Clone this repository.
- Change the working directory to the repository root.
- Run
npm install. - Open the repository in Visual Studio Code.
$ git clone [email protected]:anchore/grype-vscode.git
[...]
$ cd grype-vscode
$ npm install
[...]
$ code .
To run the extension from your local code, start debugging. (Press F5, or go to the Run menu and select "Start Debugging".)
After a few seconds, a second VS Code window should open, with the words "Extension Development Host" in the window title. In this second window, the VS Code extension is installed and running! You can use this second window to open any project like you would normally.
For more information on developing Visual Studio Code Extensions, check out https://code.visualstudio.com/api.


