| page_type | languages | products | name | description | urlFragment | |||
|---|---|---|---|---|---|---|---|---|
sample |
|
|
Azure Digital Twins explorer |
A code sample for visualizing and managing an Azure Digital Twins instance |
digital-twins-explorer |
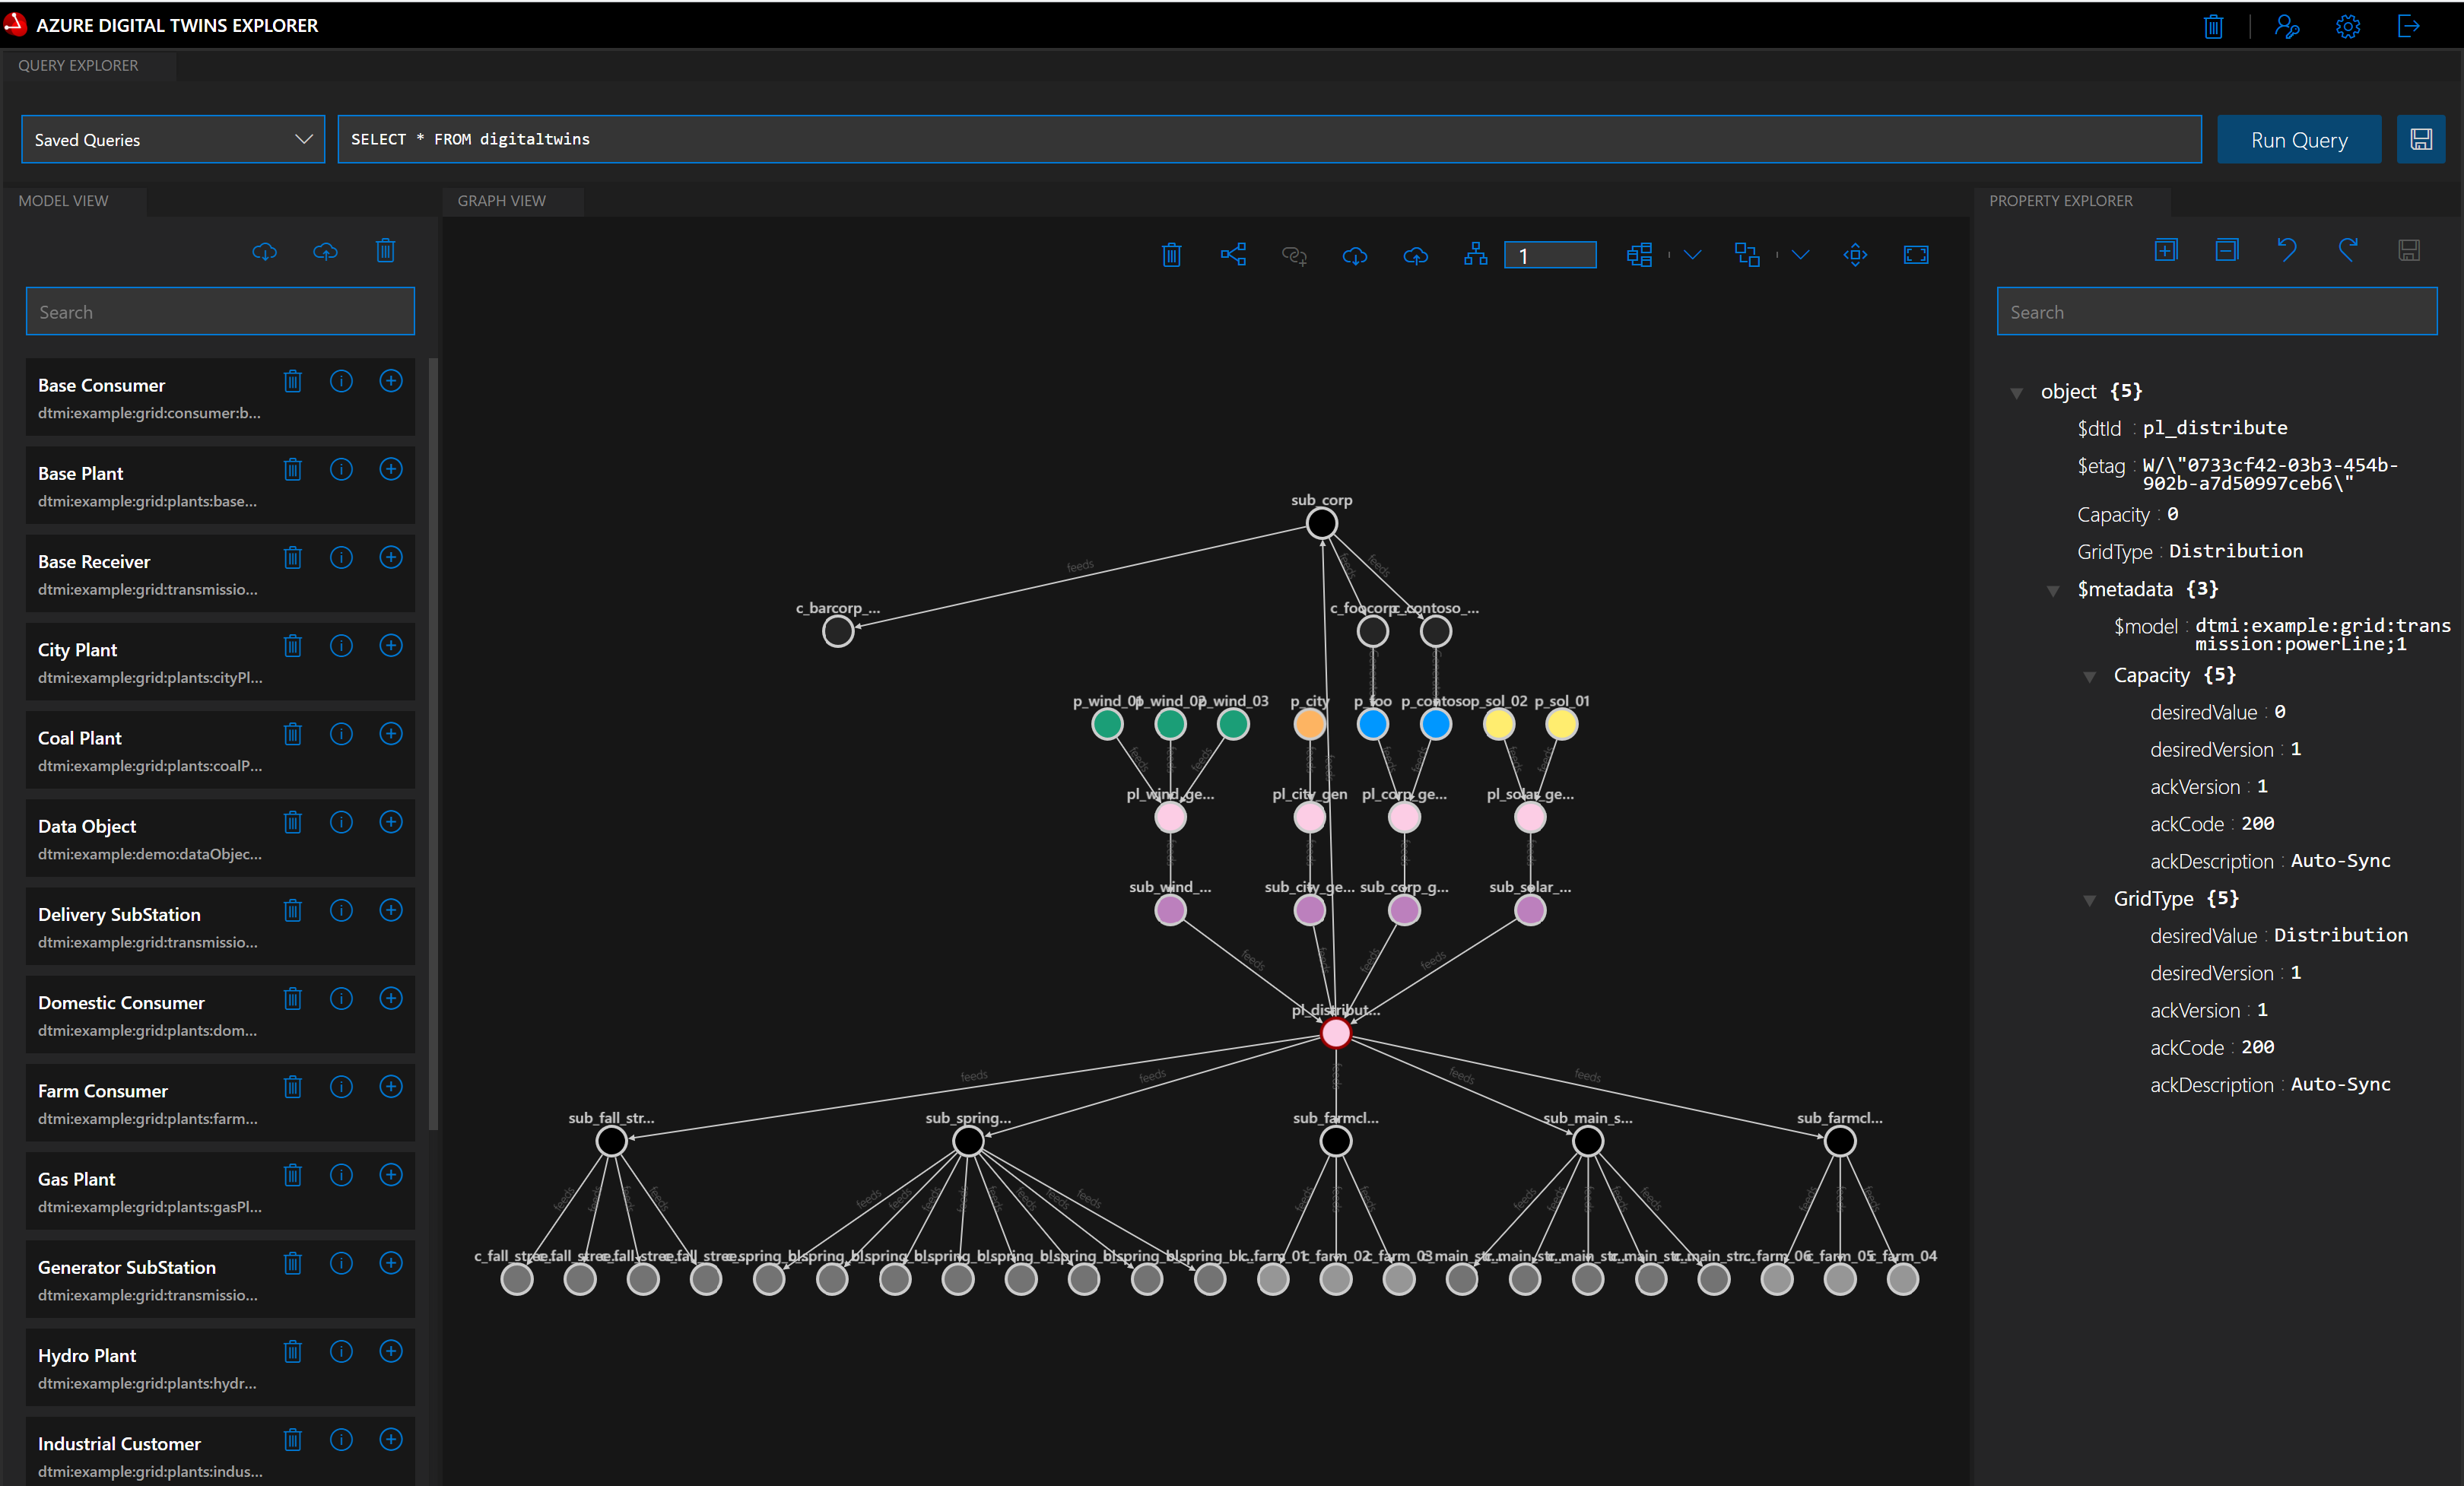
Azure Digital Twins Explorer is a developer tool for the Azure Digital Twins service. It lets you connect to an Azure Digital Twins instance to understand, visualize and modify your digital twin data.
Azure Digital Twins Explorer is written as a single-page JavaScript application. This repository holds the code for the hosted version of Azure Digital Twins Explorer, which is accessible through the Azure portal and at explorer.digitaltwins.azure.net. You can also run the application locally as a node.js application.
This README contains information and guidance specific to hosting this codebase locally, including:
- Instructions to run the sample locally
- Instructions to run the sample as a Docker application
- Sign in information for the first run of the sample
- Experimental features
- Extensibility points
- Services
For general documentation on the Azure Digital Twins Explorer features for both the hosted version and local codebase, see the Azure Digital Twins documentation:
Azure Digital Twins Explorer is licensed under the MIT license. Please see the Microsoft Open Source Code of Conduct
Node.js 10+
- Set up an Azure Digital Twins service instance and give yourself permissions (e.g. Azure Digital Twins Owner). For instructions, please see the following how-to article:
- When running locally, Azure Digital Twins Explorer will use Azure default credentials. In order to authenticate, you can run, for example, az login in any command prompt. When you later run Azure Digital Twins Explorer, it will pick up the credentials. Alternatively, you can sign into Visual Studio Code.
- Select the Download ZIP button to download a .zip file of this sample code to your machine. Unzip the digital-twins-explorer-.zip folder, and extract the files. Alternatively, you can clone the repository.
- From a command prompt in the
client/srcfolder, runnpm install. This will retrieve all dependenciesIMPORTANT! Due to a dependency on the
npm-force-resolutionspackage to mitigate an underlying security issue you will not be able to install under any path that contains a space. For more information, see this GitHub issue. - From the same command prompt, run
npm run start.By default, the app runs on port 3000. To customize the port, change the run command. For example, to use port 8080:
- Linux/Mac (Bash):
PORT=8080 npm run start - Windows (cmd):
set PORT=8080 && npm run startNote: Your Azure Digital Twins app registration must have a reply URL using the same port you are using - e.g. localhost:7000 if that is the port you are using.
- Linux/Mac (Bash):
- Your browser should open and the app should appear.
See below for instructions on how to run digital-twins-explorer using docker.
- From a command prompt in the root folder, run
docker build -t azure-digital-twins-explorer .. This will build the Docker image for the Azure Digital Twins Explorer. - From the same command prompt, run
docker run -it -p3000:3000 azure-digital-twins-explorer.By default, the app runs on port 3000. To customize the port, change the run command. For example, to use port 8080 run
docker run -it -p8080:3000 azure-digital-twins-explorer. A message will appear on the console asking you to login using a code in the Microsoft device login page with your web browser; after doing so the Azure Digital Twins Explorer should start.- Note: When run successfully the application will display a message showing you the URL & port that you must open to browse the app. When running the app inside Docker this information might not be accurate, as other port might have been exposed. Be sure to use the port you chose before.
- You can now open your web browser and browse to
http://localhost:3000(change3000for the appropriate port, if you changed it).
Initial authentication is triggered by either of the following actions:
-
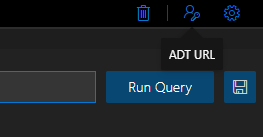
Clicking on the Azure Digital Twins URL button in the top right

-
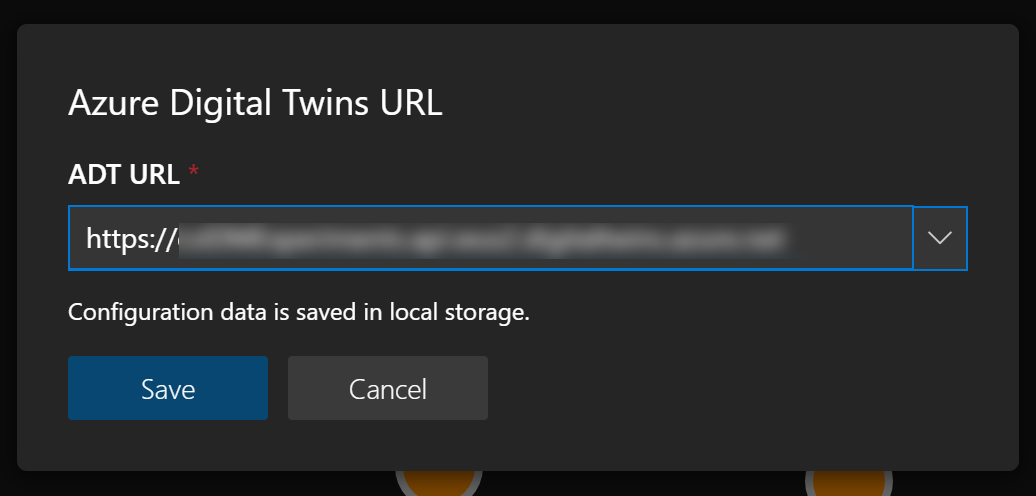
Clicking on an operation that requires calling the service. When you click the first command, Azure Digital Twins Explorer will open a dialog that prompts you for connection information to your service instance.
To continue, you will need to provide the URL of the Azure Digital Twins instance you want to access, in the form of the instance's host name prefixed with "https://". You can find the instance's host name in the Azure portal overview page for your Azure Digital Twins instance.
To change the instance URL to connect to another instance of Azure Digital Twins, click on the sign in button in the top right.
In addition to local operation, you can also run Azure Digital Twins Explorer as a cloud application. In the cloud, you can use push notifications from Azure Digital Twins, sent via the Azure SignalR service, to update your digital-twins-explorer in real time.
You might want to run your Azure Digital Twins Explorer app in the cloud to host your custom version of the explorer for your organization, or to access an Azure Digital Twins instance that uses Private Link to disable public access.
- Deploy the ARM template called
template.jsonlocated under thedeploymentfolder into your Azure subscription. - Package the client app using
npm run build. You may need to setNODE_OPTIONS=--max_old_space_size=4096if you receive memory-related errors. - From the new
buildfile, upload each file to thewebcontainer in the new storage account created by the ARM template. - Package the functions app using
dotnet publish -c Release -o ./publish. - Zip the contents of the
./publishfolder. E.g. from within the publish folder, runzip -r DigitalTwinsExplorerFunctions.zip *. - Publish the functions app using the CLI:
az functionapp deployment source config-zip -g <resource_group> -n <app_name> --src <zip_file_path>. - [Optional] For each Azure Digital Twins environment used with the tool where live telemetry through SignalR is required, deploy the
template-eventgrid.jsontemplate in your Azure subscription. - Setup a system assigned identity to allow Functions proxy to access Azure Digital Twins Service.
- In Azure, open the Function App resource from your resource group.
- Click Identity from the left hand blade.
- Under the System assigned tab Turn the Status toggle to on.
- From your resource group, select the Azure Digital Twins resource.
- Click Access Control (IAM) from the left blade.
- Click + Add then Add role assignment.
- Select Azure Digital Twins Data Owner as the Role.
- Assign access to System assigned managed identity - Functions App.
- Select your Functions App from the list.
- Click Save.
When running locally, the Event Grid and SignalR services required for telemetry streaming are not available. However, if you have completed the cloud deployment, you can leverage these services locally to enable the full set of capabilities.
This requires setting the REACT_APP_BASE_ADT_URL environment variable to point to your Azure Functions host (e.g. https://adtexplorer-<your suffix>.azurewebsites.net). This can be set in the shell environment before starting npm or by creating a .env file in the client folder with REACT_APP_BASE_ADT_URL=https://....
Also, the local URL needs to be added to the allowed origins for the Azure Function and SignalR service. In the ARM template, the default http://localhost:3000 path is added during deployment; however, if the site is run on a different port locally then both services will need to be updated through the Azure Portal.
Import plugins are found in src/services/plugins directory within the client code base. Each plugin should be defined as a class with a single function:
tryLoad(file: File): Promise<ImportModel | boolean>If the plugin can import the file, it should return an ImportModel. If it cannot import the file, it should return false so the import service can share the file with other plugins.
The ImportModel should be structured as follows:
class DataModel {
  digitalTwinsFileInfo: DataFileInfoModel;
  digitalTwinsGraph: DataGraphModel;
  digitalTwinsModels: DigitalTwinModel[];
}

class DataFileInfoModel {
  fileVersion: string; // should be "1.0.0"
}

class DataGraphModel {
  digitalTwins: DigitalTwin[]; // objects align with structure returned by API
  relationships: DigitalTwinRelationship[]; // objects align with structure returned by API
}
New plugins need to be registered in ImportPlugins collection at the top of the src/services/ImportService.js file.
Currently, import plugins for Excel and JSON are provided. To support custom formats of either, the new plugins would need to be placed first in the ImportPlugins collection or they would need to be extended to detect the custom format (and either parse in place or return false to allow another plugin to parse).
The ExcelImportPlugin is designed to support additional Excel-based formats. Currently, all files are parsed through the StandardExcelImportFormat class; however, it would be relatively straightforward to inspect cell content to detect specific structures and call an alternative import class instead.
Graphs can be exported as JSON files (which can then be re-imported). The structured of the files follows the DataModel class described in the previous section.
Export is managed by the ExportService class in src/services/ExportService.js file.
To alter the export format structure, the existing logic within the ExportService to extract the contents of the graph could be reused and then re-formatted as desired.
All panels are defined in the src/App.js file. These configuration objects are defined by the requirements of the Golden Layout Component.
For temporary panels within the application (e.g. import preview), two approaches can be considered:
- For panels like output & console, the new panel can be added to the
optionalComponentsConfigcollection. This allows the panel's state (i.e. open or closed) to be managed through the app state, regardless of whether it is closed via the 'X' on the tab or when it is closed via configuration (like available in the preferences dialog). - For panels like import preview, these can be manually added on demand to the layout. This can be cleanly done via the pub/sub mechanism (see below and the
componentDidMountmethod inApp.js).
Where a view has commands, it's suggested that a dedicated command bar component is created (based on components like that found in src/components/GraphViewerComponent/GraphViewerCommandBarComponent.js). These leverage the Office Fabric UI CommandBar component and either expose callbacks for functionality via props or manage operations directly.
The Golden Layout Component includes a pub/sub message bus for communication between components. This is key part of the Azure Digital Twins Explorer and is used to pass messages between components.
All events - via publish and subscribe methods - are defined in the src/services/EventService.js file. Additional events can be defined by adding to this file.
The pub/sub message bus is not immediately available on application load; however, the event service will buffer any pub or sub requests during this period and then apply them once available.
When running locally, all requests to the Azure Digital Twins service are proxied through the same local web server used for hosting the client app. This is configured in the client/src/setupProxy.js file.
When running in the cloud, Azure Functions hosts three services to support the front end application:
- Proxy: this proxies requests through the Azure Digital Twins service (much in the same way as the proxy used when running locally).
- SignalR: this allows clients to retrieve credentials to access the SignalR service for live telemetry updates. It also validates that the endpoint and route required to stream information from the Azure Digital Twins service to the Azure Digital Twins Explorer app is in place. If the managed service identity for the Function is configured correctly (i.e. has write permissions on the resource group and can administer the Azure Digital Twins service), then it can create these itself.
- EventGrid: this receives messages from the Event Grid to broadcasts them to any listening clients using SignalR. The messages are sent from Azure Digital Twins to the function via Azure Digital Twins endpoint and route.
NOTE: If you have hosting the application somewhere other than Azure Functions. Then we recommend you add the Content Security Policy to you environment as defined in the
proxies.jsonfile.

