![]()
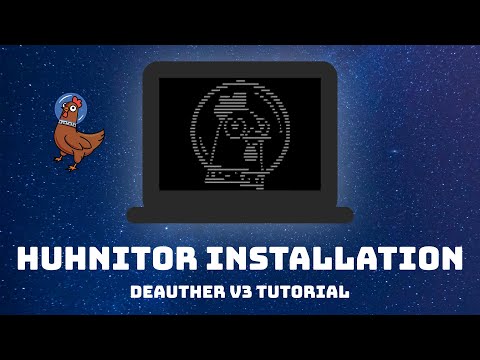
An intergalactic serial monitor for the ESP8266 Deauther v3
![]()
Check out serial.huhn.me for a web based serial monitor.
A great alternative that works with all Arduino projects and doesn't need to be installed.
You just need a compatible browser, like Chrome for desktop.
But no worries, it doesn't replace this project. Huhnitor remains to be our terminal based serial monitor!
Please note that while this software can be used for other serial devices and projects, it is designed to be used with the ESP8266 Deauther Version 3.
Youtube Tutorial:
- Go to the release page and download a binary for your OS from the latest release.
- Run it by simply double clicking it or via terminal
./huhnitororsudo ./huhnitor
Linux & Mac users will have to make the binary executable first by runningsudo chmod +x huhnitor - [Optional] Add it to the
PATHvariable for easy use in the terminal
- Install snap if it doesn't already come with your Linux distribution.
- Open a terminal and type
sudo snap install huhnitor --edge --devmode - To start simply run
sudo huhnitorin a terminal
If you get a huhnitor not found message, try adding snap to the PATH by running export PATH="$PATH:/snap/bin".
- Open a terminal and type
yay -S huhnitor - To start simply run
sudo huhnitorin a terminal
- Make sure Homebrew is installed
- Open a terminal and type
brew tap spacehuhntech/huhnitor
brew install huhnitor
or as a one-liner:brew tap spacehuhntech/huhnitor && brew install huhnitor - To start simply run
huhnitorin a terminal
Pro tip: Homebrew can also be installed on Linux, and the Windows Subsystem for Linux.
Precompiled binaries can be found at releases.
But if you want, you can compile the Huhnitor yourself:
- Install Rust using rustup
Linux users will also need to runsudo apt install libudev-dev pkg-config
Windows users have to install Visual C++ Build Tools 2019 - Download and unzip or
git clone https://github.com/SpacehuhnTech/Huhnitor.gitthis repository - In the root directory of the repo run
cargo build --release, your binary will be located intarget/release/(you can usecargo runto start Huhnitor without compiling a binary)
The Huhnitor is designed to be as easy to use as possible:
- Open huhnitor
- Plug in your deauther
- Have fun using the command line interface of the ESP8266 Deauther 🙂
If the huhnitor has issues connecting to your deauther, try running it as administrator or via sudo huhnitor.
You can also give a user permission to access the serial ports by running sudo usermod -a -G dialout <username>.
The Huhnitor can run scripts (a series of pre-written commands) if you enter huhn read [filename] once you are connected to a deauther. The file paths are relative to your current command line location (not the executable's) and are essentially a series of newline separated deauther commands.
To stop running a command on the deauther, you can hit ctrl + c, which is in theory more convenient and should help to prevent accidental disconnects. This does, however, also mean that you cannot exit the Huhnitor with ctrl + c, therefore once a serial connection has been opened, entering exit must be used to exit the Huhnitor.
| Argument | Description |
|---|---|
--help or -h |
print this help screen |
--port or -p |
enter port as argument |
--driver or -d |
open driver page |
--no-auto or -a |
disable automatic port connect |
--no-color or -c |
disable colored output |
--no-welcome or -w |
disable welcome message |
Your deauther is not detected when plugged in?
Make sure the USB connection is working. Some cables can only charge but not transmit data.
Depending on the serial chip that is used on the ESP8266 development board you have, you might need to install the right driver:
Not sure which one to install? A lot of ESP8266 based development boards use a chip from the CP210x family, try starting there.
Made with ❤️ by Jamz with help from Selicre
in cooperation with Spacehuhn Technologies
This software is licensed under the MIT License. See the license file for details.