This addon enables the transfer of animations and poses from one armature to another.
-
Download this repo as .zip
-
In Blender go to Edit > Preferences > Add-ons > Install...
-
Select the downloaded .zip
-
Enable the Add-on, which will appear in the list
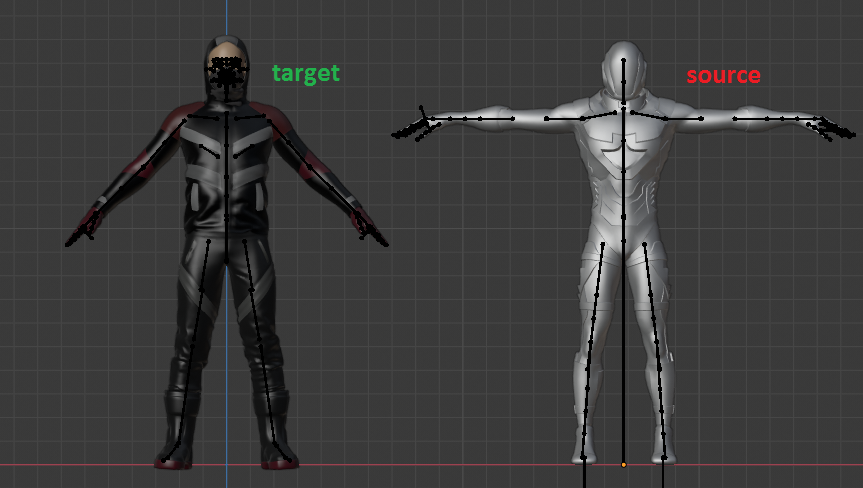
Assuming you have both your target and source armature in the scene, and have them aligned and scaled to match each other.
-
Select your target armature and open the add-on panel on the right side of the 3D View (Retarget tab)
-
Now choose the source armature as 'Source' on the panel
-
It should say that there are no bone mappings, yet. Go ahead and click 'Create'.
-
Now map each relevant source bone to the corresponding target. Make sure to not map any bone multiple times, otherwise you'll get undefined behaviour.
-
Next you have to set up the rest pose alignment. Click on "Set up", then change the pose of your target armature in a way, that it optimally fits your source armatures rest pose. When done click 'Apply'.
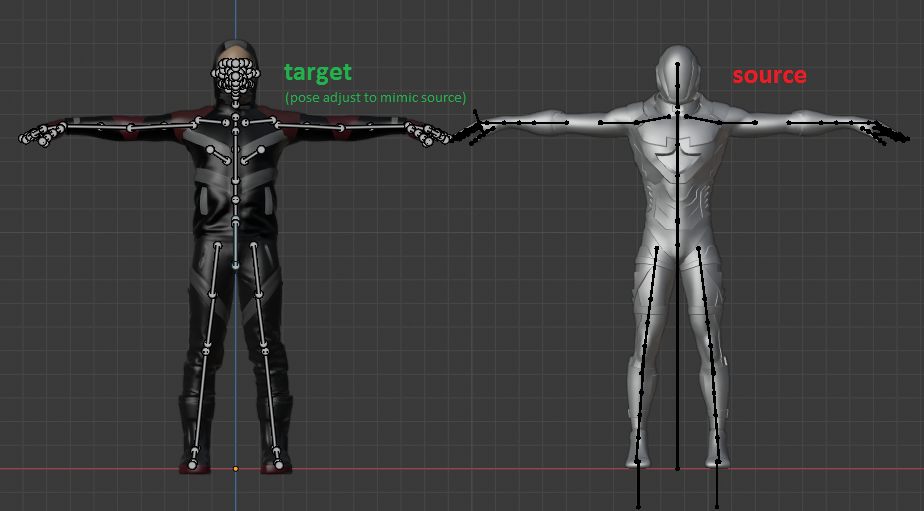
- The add-on will then automatically create drivers for each bone, and you should be good to go.
If there's significant 'foot-sliding' or odd arm movements, due to anatomical differences between your armatures, you can turn on:
-
Correct Feet Position
-
Correct Hands Position
You will be asked to specify the leg/foot, arm/hand bones respectively.
This will create and IK bone setup for the specified limbs whereas the target positions for the feet/hands are copied over from the source.
Additionally it will spawn a control empty cube, that allows you to transform the target positions as shown in this gif:
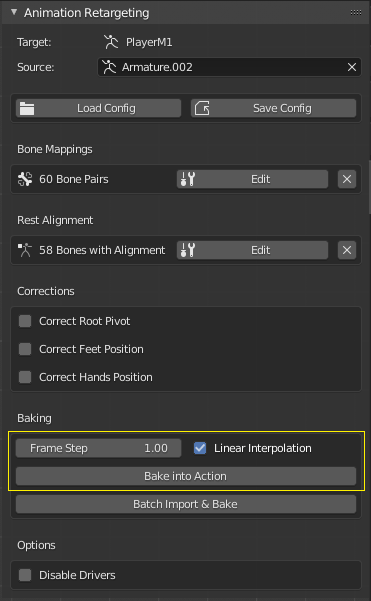
For convenience you can bake the source's animation into an action for your target via the add-on.
- The option "Linear Interpolation" causes the F-Curves between the keyframes to be linearized instead of the default Blender Bezier interpolation.
- The option "Bake Mapped Bones Only" ensures that target bones that have no retarget mapping will remain unaffected.
Since the target bones are driven by drivers, you can bake everything youself, if you want. Make sure to check 'Visual Keying' if you do so.