micro:witch is a block-style programming environment for micro:bit based on MIT Scratch.
(BBC micro:bit v2 is supported now and some functions are available)
You can try micro:witch v2 if you like.
- Open Releases page and select newest release.
- Download the release file from Assets. (ex. microwitch-v1.3.3-win.zip)
- Unzip the downloaded file to an appropriate folder.
- Start microwitch.exe.
To use the micro:witch, you need to upload the firmware to the micro:bit by following the steps below.
- Connect a micro:bit to your PC.
- Wait until the computer recognizes the micro:bit as storage device.
- Select "initialize micro:bit" from Device menu.
- Click Yes on "initialize micro:bit?" dialog.
- When the firmware has been transferred and the micro:bit is recognized again, you are done.
If the file selection dialog is displayed in the third step, micro:bit may not be recognized properly. Please check the connection.
- Connect a micro:bit to your PC.
- Select "Connect to micro:bit" from Device menu.
- It will automatically connect to the micro:bit and the status display will change to "Ready".
- When you click on the script you have created, it will be transferred to the micro:bit and executed.
Just clicking on the script you have created will not save the script in the micro:bit, so the script in the micro:bit will be lost when you power off or reboot.
To save the script and have it run automatically when power is turned on, follow the steps below.
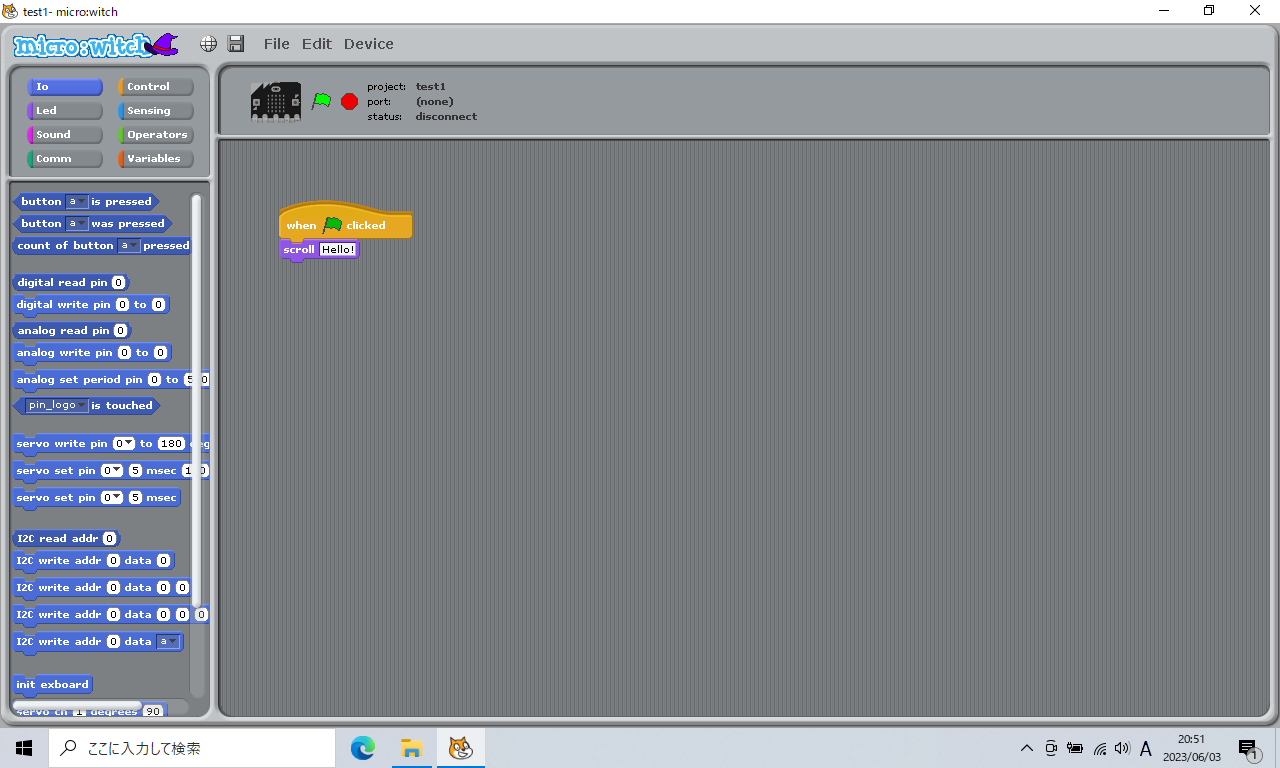
- Put up a block for "When the green flag is clicked".
- Create the scripts you need.
- After connecting micro:bit to the computer, select "Send to micro:bit".
- Once the script has been transferred, the micro:bit will automatically reset and the script will start running.
To stop the running script, press the red button in the upper right corner of the screen.
Unplug the micro:bit from the computer, wait a moment, stick it back in, and try again.
Make sure that the cable connecting the micro:bit to the PC is for data transfer.
The DAPLink firmware version may be out of date. Please search for "microbit firmware DAPLink update" and update the DAPLink firmware.
The firmware version may be old. Please transfer the firmware to the micro:bit again.
You may be using commands (such as sound events) added in micro:bit v2 on an older micro:bit.
In the device menu, select "Connect to micro:bit" and choose a port.
Press the Stop button to confirm the "satus: ready" message is displayed.
Create a script that uses the ultrasonic sensor or expansion board, and then do "Send to micro:bit" afterwards.
The program required for the operation will be transferred automatically. (It may take some time.)
micro:witch official logo created by Karin sama.
![]()
MIT License